
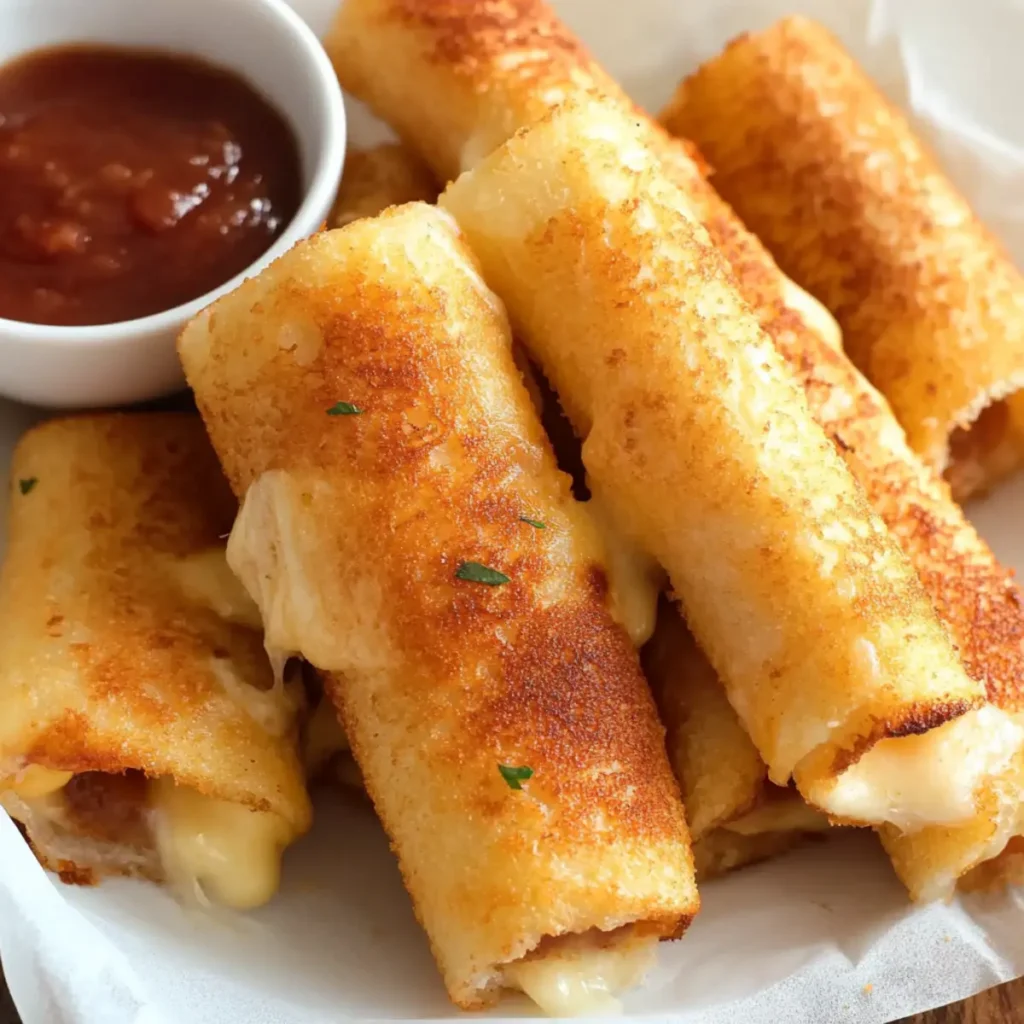
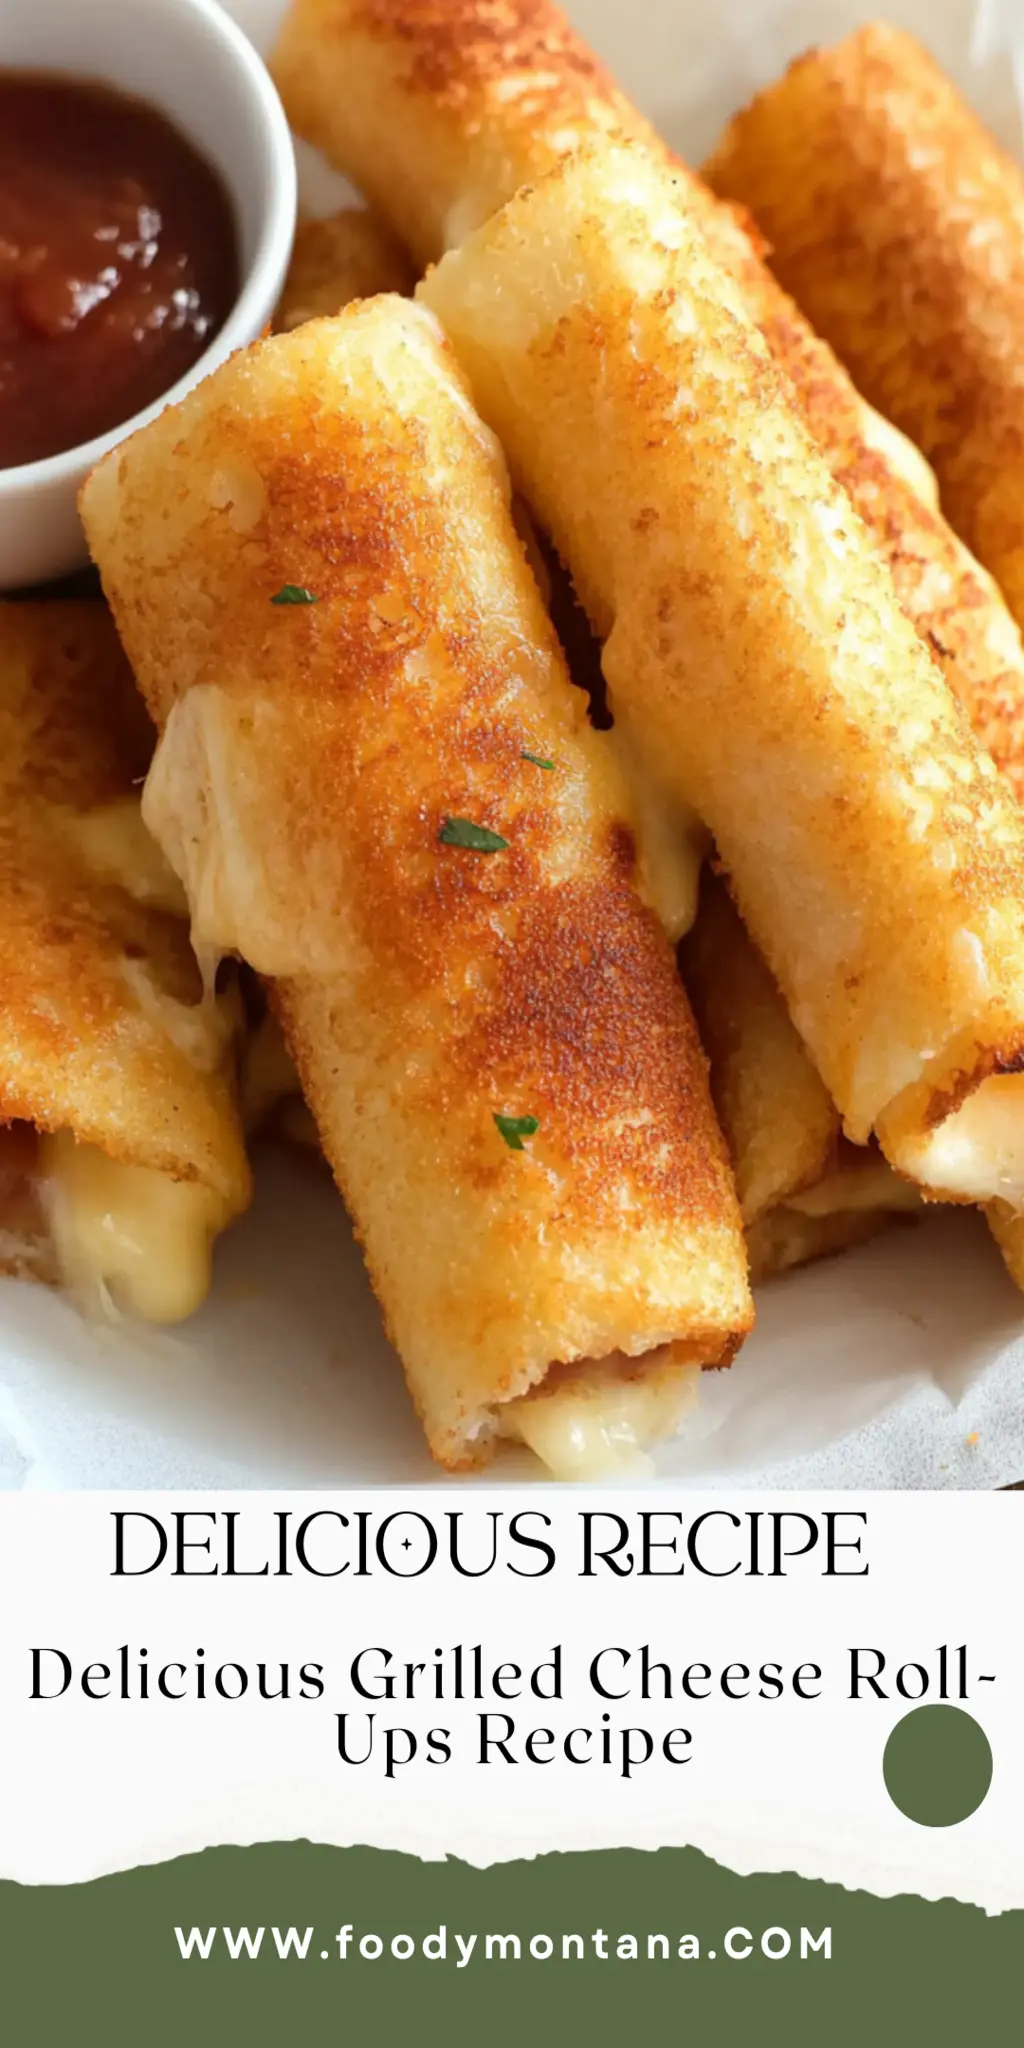
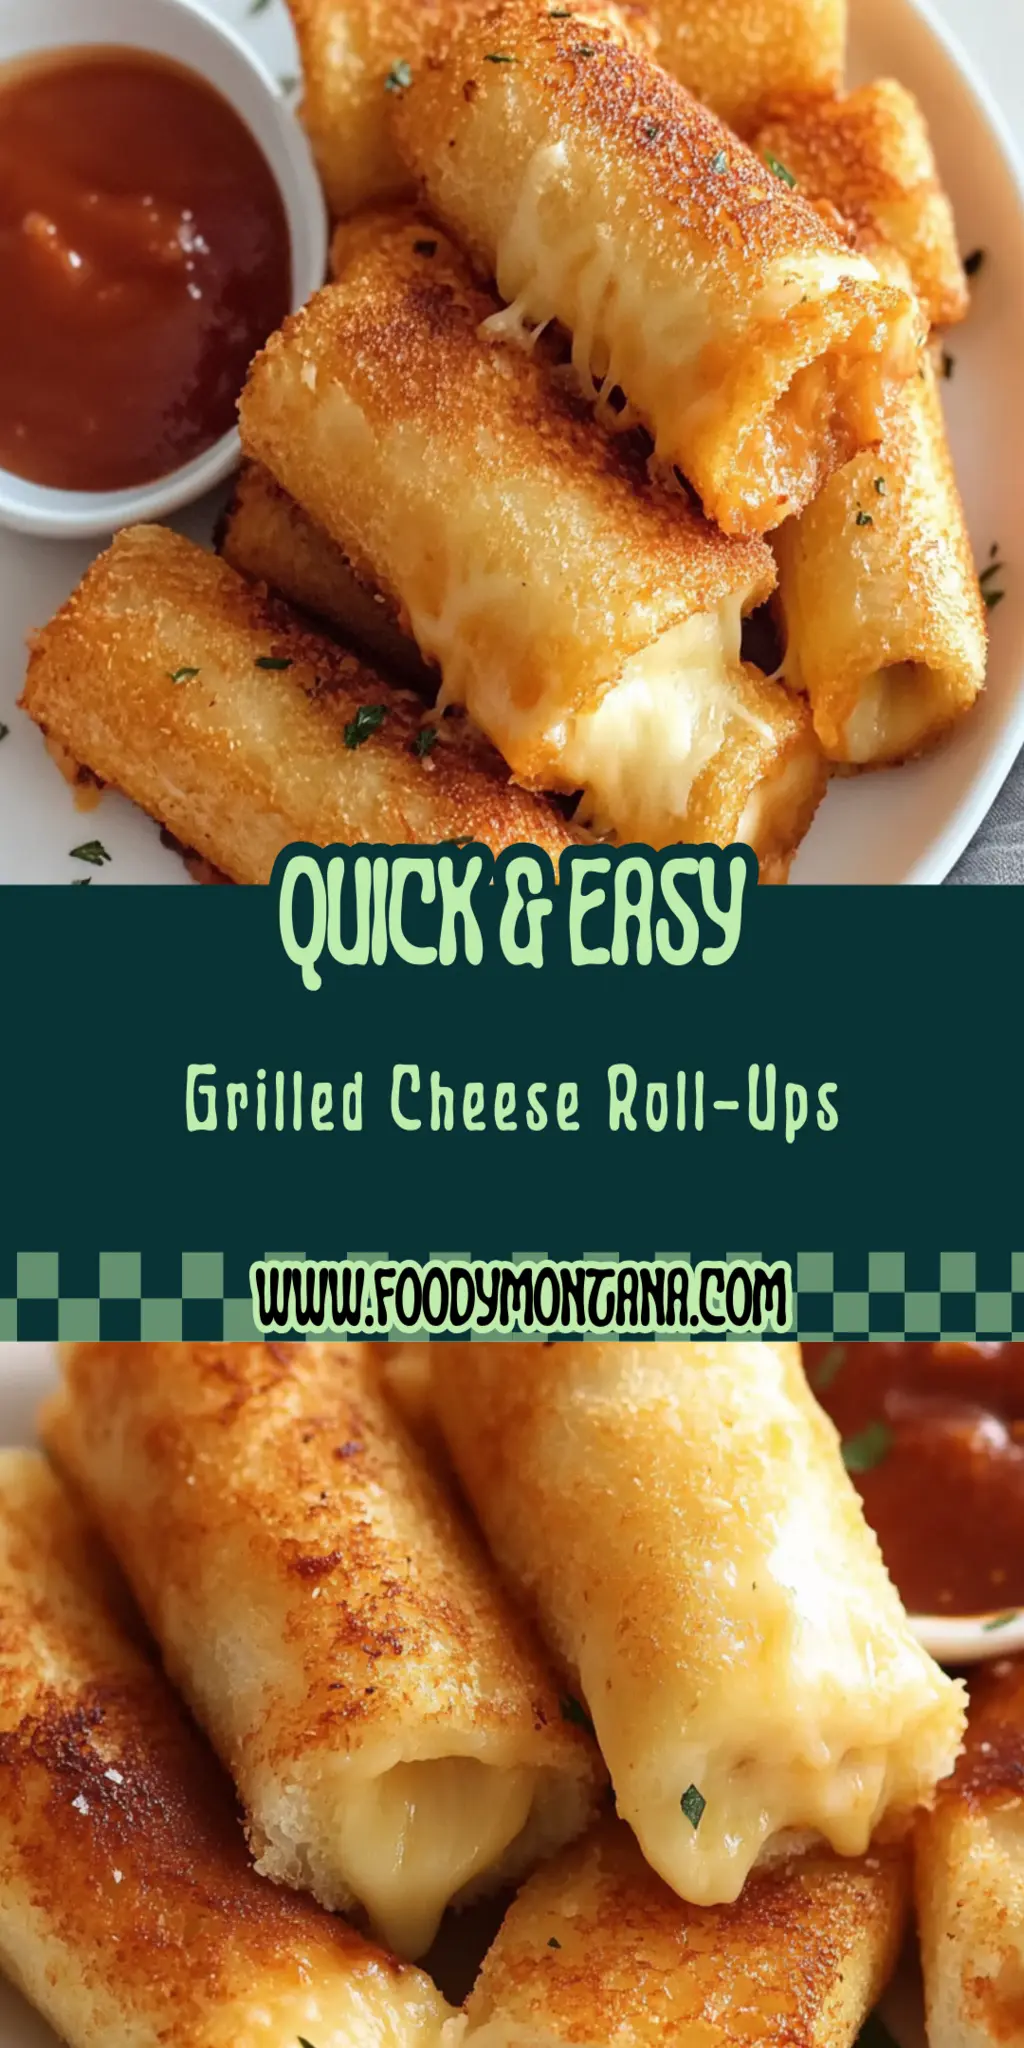
The aroma of crispy, golden-brown bread filled with gooey, melted cheese wafts through the air, teasing your senses with the promise of comfort and indulgence. Grilled Cheese Roll-Ups are not just a meal; they’re an experience that transports you back to carefree childhood days, where every bite enveloped you in cheesy goodness, leaving you craving more.
Picture the first bite as it brings an explosion of flavor, the satisfying crunch giving way to the soft, warm interior, revealing that cheese stretching sensationally with every pull. These delightful Grilled Cheese Roll-Ups are perfect for a cozy night in, a quick lunch, or as an entertaining snack that will impress guests and take you back to the days when life was worry-free.
Why You'll Love This Grilled Cheese Roll-Ups
- This incredible Grilled Cheese Roll-Ups transforms simple everyday ingredients into restaurant-quality flavors that will blow your mind completely.
- Foolproof recipe techniques guarantee perfect results every single time, making even novice cooks feel like professional chefs instantly.
- Stunning visual appeal with gorgeous colors and mouthwatering aromas creates the ultimate Instagram-worthy dish for any special occasion.
- Endlessly adaptable for different dietary needs while working beautifully for meal prep, date nights, or entertaining large groups effortlessly.
Ingredients for Grilled Cheese Roll-Ups
Here’s what you’ll need to make this delicious Grilled Cheese Roll-Ups:
8 slices bread – Choose your favorite type, like white, whole grain, or even sourdough for extra flavor.
1 cup cheese – Pick a melty cheese mix such as cheddar, mozzarella, or American for that perfect stretchy goodness.
2 tablespoons butter – Softened to spread easily, this will create a deliciously crispy exterior.
1/2 cup ketchup – A classic condiment, perfect for dipping these cheesy creations.
1/4 cup mustard – Adds a tangy kick for those who like a little zest with their cheese.
How to Make Grilled Cheese Roll-Ups
Follow these simple steps to prepare this delicious Grilled Cheese Roll-Ups:
Step 1: Spread the Butter
Begin by spreading butter on one side of each slice of bread. This buttery layer is crucial for achieving that irresistible golden-brown crust.
Step 2: Add the Cheese
Place a generous portion of cheese, about a quarter cup, in the center of the unbuttered side of each bread slice. Feel free to mix and match different cheeses for a unique flavor profile.
Step 3: Roll ‘Em Up
Tightly roll each slice of bread around the cheese, ensuring the cheese is well wrapped. The goal here is to seal in all that cheesy goodness as you roll.
Step 4: Heat the Skillet
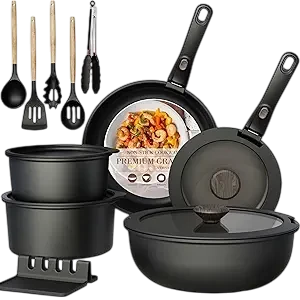
Preheat a skillet over medium heat and carefully place the roll-ups seam-side down in the pan. You might need to do this in batches to avoid overcrowding.
Step 5: Cook Until Golden
Cook each roll-up for about 2-3 minutes per side, until that beautiful golden-brown color shows up. The cheese will start to ooze out a bit, and trust me, that’s just pure magic.
Step 6: Serve and Enjoy
Once golden and crispy, transfer the roll-ups to a serving plate. Serve them hot alongside your ketchup and mustard for dipping. Enjoy your masterpiece, and don’t forget to take a fun picture before diving in!
These Grilled Cheese Roll-Ups are not just easy to make; they are a whimsical twist on a classic favorite. With each step, from buttering the bread to the last crunchy bite, you’ll find yourself smiling, remembering why this dish is pure comfort food. Whether it’s a family lunch or a snack for movie night, these roll-ups promise to be a hit every time. Happy cooking!
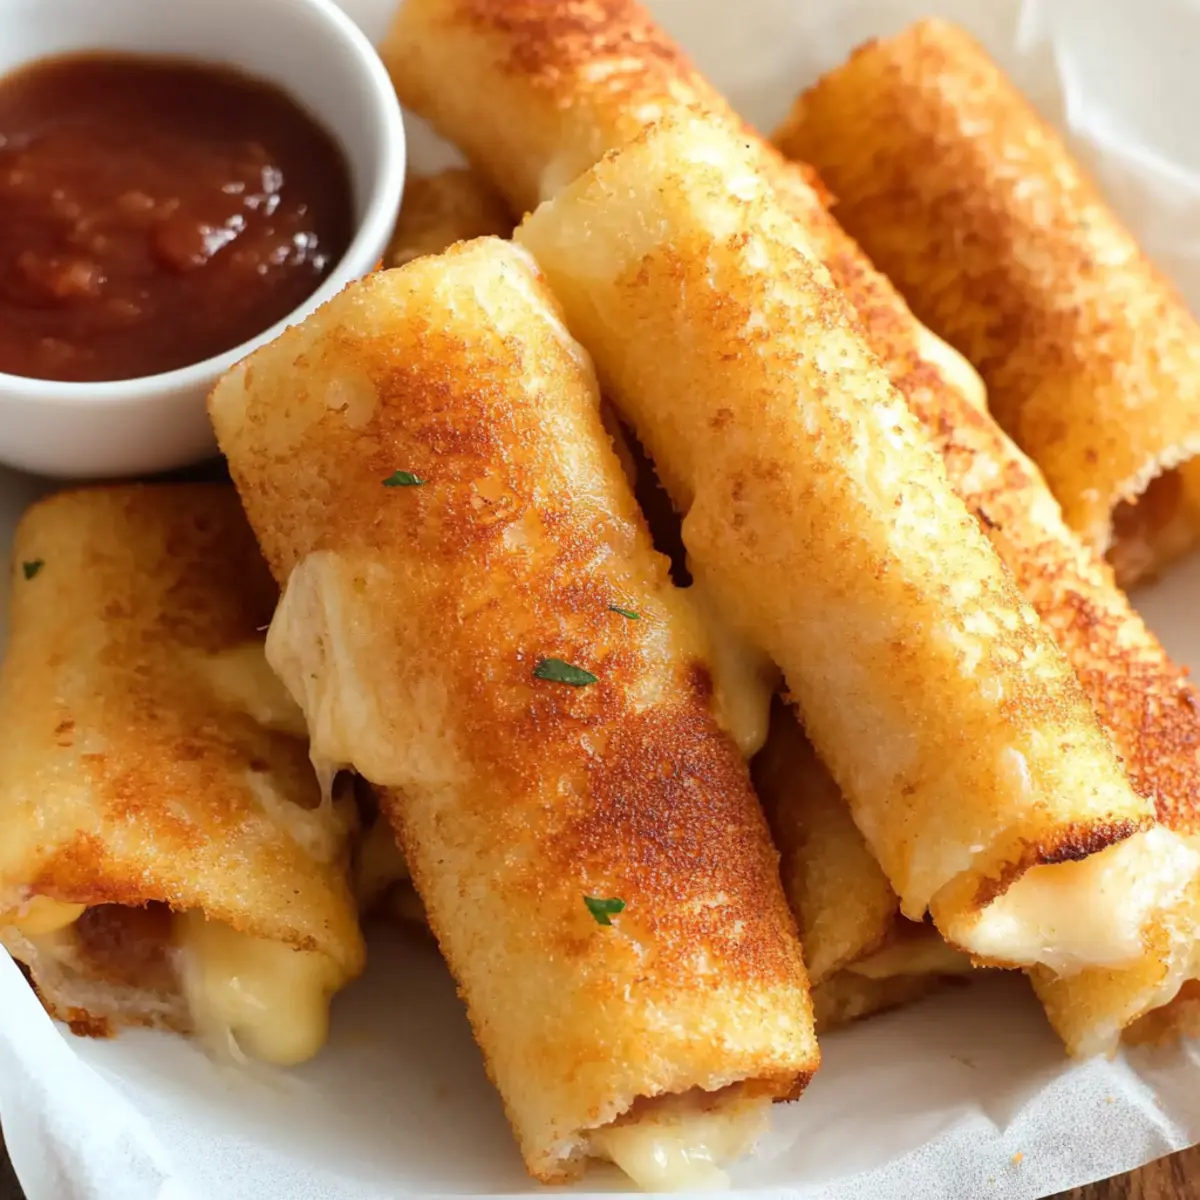
This showstopping Grilled Cheese Roll-Ups delivers restaurant-quality results using simple ingredients you probably already have at home. The perfect balance of textures and flavors creates an unforgettable dining experience that will have everyone asking for seconds. Picture-perfect presentation with vibrant colors makes this dish absolutely Instagram-worthy and guaranteed to impress any dinner guest. Incredibly versatile recipe that works beautifully for weeknight dinners, meal prep, special occasions, or even outdoor entertaining sessions.
Perfecting Grilled Cheese Roll-Ups Cooking Process
For the best results with your Grilled Cheese Roll-Ups, prepare your ingredients first. Butter the bread, roll cheese inside, and heat the skillet. Start cooking with the seam side down to secure the roll-up, ensuring a golden and crispy finish.
Add Your Touch to Grilled Cheese Roll-Ups
Customize your Grilled Cheese Roll-Ups by swapping out cheese types or adding herbs and spices. Try pepper jack for a kick or mozzarella for a gooey stretch. You can even throw in some sautéed veggies or deli meats for added flavor.
Storing & Reheating Grilled Cheese Roll-Ups
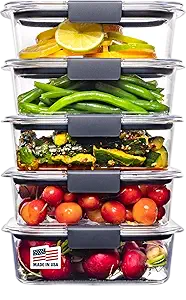
To store Grilled Cheese Roll-Ups, place them in an airtight container in the fridge for up to three days. For reheating, simply toss them in a skillet over low heat to restore their crispy texture, or use the microwave for a quicker option.
Chef's Helpful Tips for Grilled Cheese Roll-Ups
- This professional-quality Grilled Cheese Roll-Ups relies on precise timing and temperature control to achieve restaurant-standard results consistently.
- Master the art of mise en place by prepping all ingredients beforehand, ensuring smooth execution and preventing any last-minute cooking disasters.
- The secret lies in layering flavors throughout the cooking process rather than seasoning only at the end for maximum depth.
- Pro tip: let the finished dish rest for optimal texture and flavor development before serving to hungry guests waiting eagerly.
It was a rainy Saturday afternoon when I first made these Grilled Cheese Roll-Ups for my family. They couldn’t get enough of them and kept joking about starting a “roll-up fan club.” It was that kind of laughter and joy that made the cooking experience unforgettable.
FAQs About Grilled Cheese Roll-Ups
What is Grilled Cheese Roll-Ups?
Grilled Cheese Roll-Ups are a fun twist on the classic grilled cheese sandwich. Instead of slicing bread into traditional quarters, you roll cheese tightly inside slices of buttered bread, creating a unique finger food experience. These delicious roll-ups are cooked until golden brown, delivering the gooey, cheesy goodness that everyone loves, all while being perfectly portable. They make a fantastic snack, easy meal, or even an appetizer at gatherings, appealing to both kids and adults alike.
How do I customize my Grilled Cheese Roll-Ups?
You can easily customize your Grilled Cheese Roll-Ups by experimenting with various types of cheese and additional ingredients. Swap out your standard cheddar for something a little spicier, like pepper jack. You can add in sautéed vegetables, such as spinach or bell peppers, or even sliced deli meats for an extra flavor punch. The options are endless, and each twist can elevate the classic roll-up to new heights, ensuring everyone finds their favorite version.
How long do Grilled Cheese Roll-Ups last?
Grilled Cheese Roll-Ups are best enjoyed fresh, but you can keep leftovers for up to three days if stored properly. Place them in an airtight container in the fridge to maintain their freshness. To reheat, you can either use a skillet over low heat or place them in the microwave. The skillet method helps restore that crispy texture, while the microwave offers a quicker solution. Just be careful not to overheat them, or you might end up with a soggy treat.
Can I make Grilled Cheese Roll-Ups ahead of time?
Absolutely! You can prepare Grilled Cheese Roll-Ups ahead of time as part of meal prepping or entertaining. Simply assemble them according to the recipe and place them in an airtight container before cooking. When you’re ready to enjoy, heat them up in a skillet until they are golden and crispy. This makes them a convenient option for busy weeknights or unexpected guests, allowing you to enjoy a tasty homemade snack in no time.
Conclusion for Grilled Cheese Roll-Ups
Grilled Cheese Roll-Ups are a delightful and simple dish that combines nostalgia with modern food trends. Their versatility makes them suitable for various occasions, whether you’re hosting a party or looking for a quick meal. With a bit of creativity, you can personalize these rolls to suit any palate. Whip up a batch of Grilled Cheese Roll-Ups today, and you’re sure to impress your family and friends with this crowd-pleasing treat that will have everyone asking for seconds.
Grilled Cheese Roll-Ups
Ingredients
Equipment
Method
- Spread butter on one side of each slice of bread.
- Place cheese in the center of the unbuttered side of each slice.
- Roll up the bread tightly around the cheese.
- Heat a skillet over medium heat and place the roll-ups seam side down.
- Cook until golden brown, about 2-3 minutes per side.
- Serve with ketchup and mustard.