
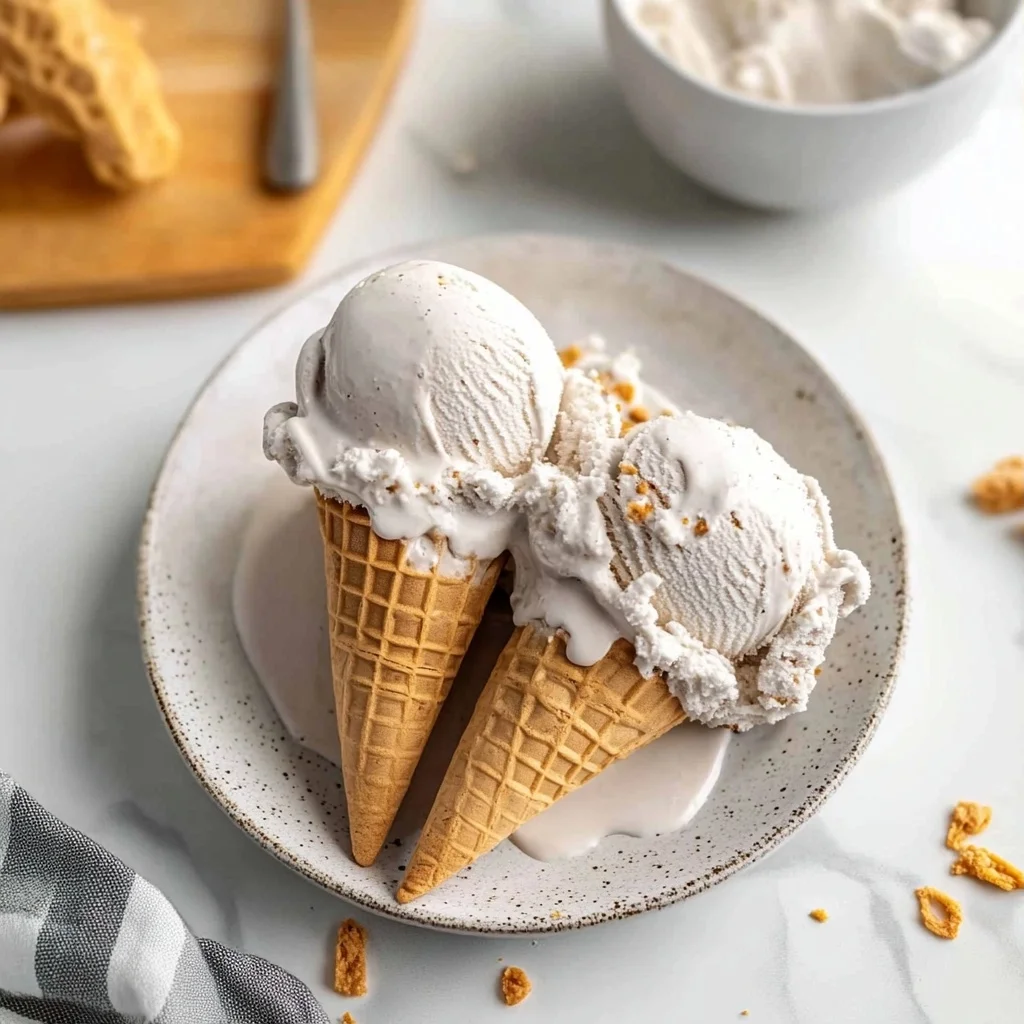
Imagine a scoop of velvety vanilla ice cream, melting slowly in the summer sun, its creamy texture dancing on your tongue while the sweet aroma wraps around you like a warm hug. This ice cream recipe isn’t just dessert; it’s an experience that transports you back to childhood afternoons spent chasing ice cream trucks and savoring every last drop, leaving behind sticky fingers and big smiles.
As you prepare to indulge in this delightful homemade treat, picture yourself serving it at a backyard barbecue or cozying up with a bowl during movie night. Each bite promises to evoke nostalgia and joy, making every occasion feel special. Get ready for a flavor explosion that will have everyone asking for seconds—and maybe even thirds!
Why Will You Keep Making ice cream recipe?
Indulge in the lusciousness of heavy cream and whole milk, creating a rich base that’s irresistibly smooth. Sweeten your day with just the right amount of granulated sugar for a perfect balance. The pure vanilla extract elevates the flavor, making each scoop a delightful experience. Plus, this simple 15-minute prep guarantees you’ll have homemade ice cream ready whenever the craving strikes! Whether it’s a summer BBQ or a cozy night in, this classic vanilla ice cream is sure to impress family and friends alike!
ice cream recipe Ingredients
- For the Creamy Base
2 cups heavy cream – This rich ingredient provides the luxurious texture that makes your ice cream decadent and smooth.
- For the Dairy Blend
1 cup whole milk – Whole milk adds a touch of creaminess, making your ice cream recipe even more delightful.
- For Sweetness
3/4 cup granulated sugar – Sweeten your mixture to balance the flavors and enhance the creamy goodness.
- For Flavoring
1 tablespoon pure vanilla extract – Use high-quality vanilla extract for a fragrant, aromatic boost that elevates your ice cream’s taste.
- For Balance
1/2 teaspoon salt – A pinch of salt enhances sweetness and rounds out the flavor profile beautifully.
Step-by-Step ice cream recipe

1. Whisk Together: In a mixing bowl, whisk together 2 cups of heavy cream, 1 cup of whole milk, 3/4 cup of granulated sugar, 1 tablespoon of pure vanilla extract, and 1/2 teaspoon of salt until the sugar is fully dissolved. This should take just a few minutes!
2. Chill the Mixture: Cover the mixture and refrigerate for at least 2 hours or until thoroughly chilled. This step is crucial for achieving that delightfully creamy texture in your ice cream.
3. Churn It Up: Pour the chilled mixture into your ice cream maker and churn according to the manufacturer’s instructions until it reaches a soft-serve consistency. You’ll know it’s ready when it has that luscious, creamy texture!
4. Freeze to Firm Up: Transfer the churned ice cream to an airtight container and freeze for at least 2 hours to firm up. Patience is key here; this will help you scoop out perfect servings later!
Optional: Garnish with chocolate shavings or fresh berries for an extra special touch!
Exact quantities are listed in the recipe card below.
Expert Tips
- Chill Thoroughly: Ensure the mixture is ice-cold before churning to achieve a smoother texture in your ice cream recipe.
- Correct Sugar Dissolving: Whisk until all sugar is dissolved; undissolved sugar can lead to a grainy texture in your final product.
- Watch the Churning Time: Over-churning can create icy ice cream. Stop once you reach a soft-serve consistency for the best results.
- Seal it Well: Use an airtight container for freezing; this prevents freezer burn and maintains the creamy quality of your ice cream recipe.
- Don’t Skip the Salt: A small amount enhances the flavor; skipping it may result in a flat-tasting ice cream.
Storing and Freezing ice cream recipe
- Freezer: Store your homemade vanilla ice cream in an airtight container for up to 2 weeks to maintain its creamy texture and flavor.
- Fridge: If you need to soften the ice cream before serving, place it in the fridge for about 20–30 minutes. Avoid leaving it in the fridge for more than a day.
- Wrap: For longer storage, cover the surface of the ice cream with plastic wrap before sealing it with a lid. This helps prevent freezer burn and maintains freshness.
- Serving: When ready to enjoy your ice cream recipe, scoop directly from the freezer. Let it sit at room temperature for a few minutes if it’s too hard to scoop.
ice cream recipe Your Way
Feel free to let your creativity shine by customizing this creamy delight with unique flavors and textures!
- Dairy-Free: Substitute the heavy cream and whole milk with coconut cream and almond milk for a rich, silky texture. This variation offers a delightful tropical twist, perfect for those avoiding dairy.
- Chocolate Swirl: Add 1/2 cup of melted dark chocolate to the base mixture before churning. The luscious ribbons of chocolate create an indulgent experience that chocolate lovers will adore.
- Minty Fresh: Incorporate 1 tablespoon of peppermint extract instead of vanilla for a refreshing mint ice cream. Toss in crushed chocolate cookies for added crunch and a fun surprise in every bite.
- Fruity Twist: Blend in 1 cup of pureed strawberries or raspberries to the base before churning. This will give your ice cream a vibrant color and refreshing fruitiness, making it a lovely summer treat.
- Nutty Delight: Stir in 1/2 cup of finely chopped pecans or walnuts into the mixture before freezing. The added nuts will provide a delightful crunch that complements the creamy base beautifully.
- Spicy Kick: Mix in 1 teaspoon of cinnamon or a pinch of cayenne pepper for a warm flavor profile. This unexpected twist can elevate your dessert into something truly memorable.
- Caramel Drizzle: Swirl in homemade or store-bought caramel sauce during the last few minutes of churning. Each scoop will be enriched with gooey caramel goodness, adding both sweetness and depth to your ice cream.
Make Ahead Options

This rich and creamy ice cream recipe is perfect for meal prep, allowing you to savor the delightful taste of homemade ice cream whenever the craving strikes. To make your life easier, you can prepare the base ingredients in advance; simply whisk together 2 cups of heavy cream, 1 cup of whole milk, 3/4 cup of granulated sugar, 1 tablespoon of pure vanilla extract, and 1/2 teaspoon of salt until the sugar dissolves. Cover and refrigerate this mixture for up to 24 hours before churning. When you’re ready to enjoy your ice cream, pour the chilled mixture into your ice cream maker and churn until it reaches a soft-serve consistency. Finally, transfer the churned ice cream to an airtight container and freeze for at least 2 hours to firm up. By following these make-ahead tips, you ensure that your homemade ice cream remains fresh and flavorful while saving time for those special moments with family and friends!
ice cream recipe Questions Answered
How can I ensure my ice cream mixture is perfectly chilled?
To achieve the best texture in your ice cream, refrigerate the mixture for at least 2 hours or until it’s thoroughly chilled. This helps the flavors meld together beautifully and ensures that the ice cream churns to a smooth consistency. If you’re short on time, you can also place it in the freezer for about an hour, but keep an eye on it to make sure it doesn’t freeze solid.
What type of heavy cream should I use for this ice cream recipe?
For a rich and creamy homemade vanilla ice cream, always opt for high-quality heavy cream that contains at least 36% fat. The higher fat content not only enhances the flavor but also contributes to a smoother texture. Brands like Organic Valley or Land O’Lakes are great choices!
Can I substitute any of the ingredients in this ice cream recipe?
Absolutely! If you’re looking for lighter alternatives, you can use half-and-half instead of heavy cream, though this will affect the richness. For a dairy-free version, try using coconut cream and a non-dairy milk such as almond or oat milk. Just keep in mind that substitutions may slightly alter the flavor and texture.
What’s the best way to store homemade ice cream?
After churning your ice cream, transfer it to an airtight container and make sure to smooth out the top before sealing it tightly. This minimizes air exposure and helps prevent freezer burn. It will stay fresh for up to 2 weeks in the freezer—though I doubt it will last that long once your family gets a taste!
How long does it take for homemade ice cream to freeze completely?
Once you’ve churned your ice cream to that delightful soft-serve consistency, be sure to freeze it in an airtight container for at least 2 hours. This extra time allows it to firm up beautifully, making each scoop rich and creamy rather than icy and crumbly.
What should I do if my ice cream is too hard after freezing?
If your homemade ice cream turns out rock-hard after freezing, simply let it sit at room temperature for about 5–10 minutes before serving. This little bit of warming will soften it just enough so you can scoop out those perfect servings without breaking a sweat! Enjoy your delicious creation!
Classic Vanilla Ice Cream
Ingredients
Method
- In a mixing bowl, whisk together the heavy cream, whole milk, granulated sugar, vanilla extract, and salt until the sugar is dissolved.
- Cover the mixture and refrigerate for at least 2 hours or until thoroughly chilled.
- Pour the chilled mixture into the ice cream maker and churn according to the manufacturer's instructions until it reaches a soft-serve consistency.
- Transfer the churned ice cream to an airtight container and freeze for at least 2 hours to firm up.