
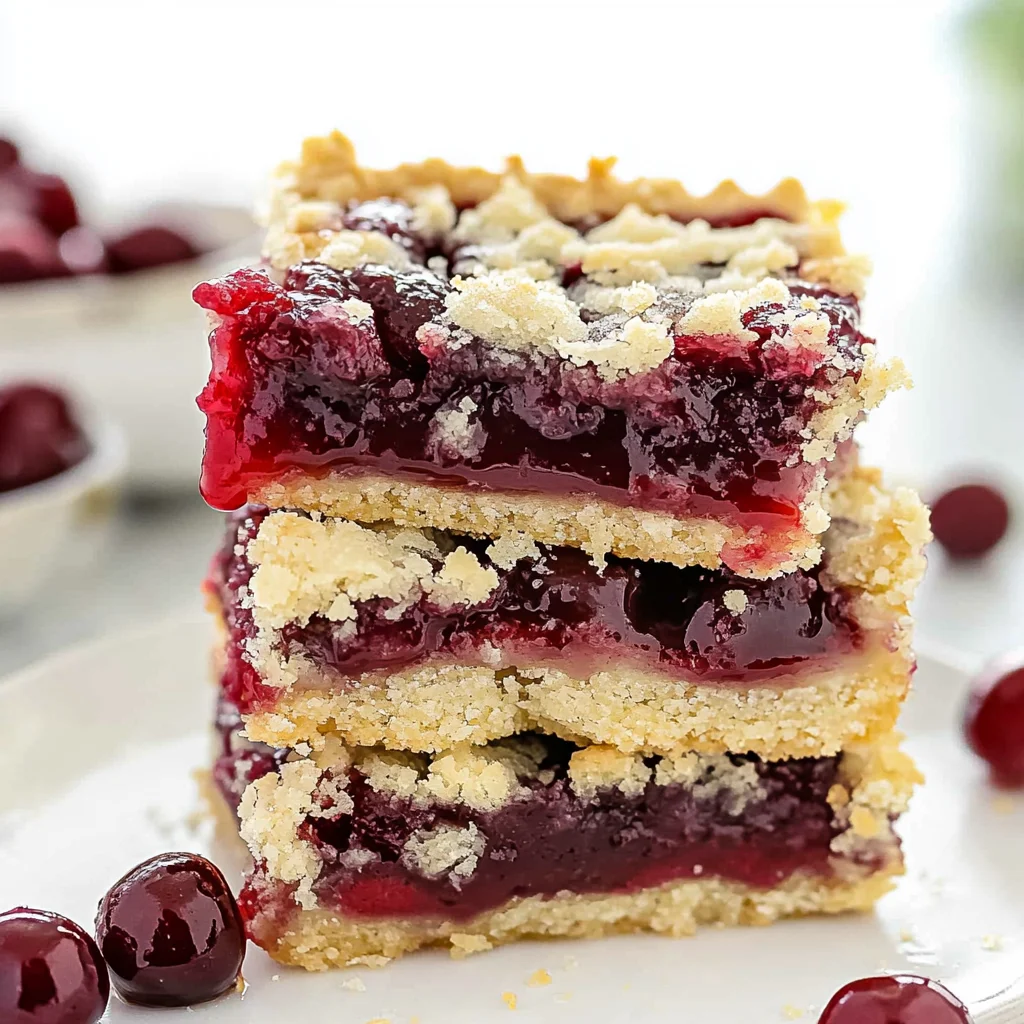
Imagine sinking your teeth into a cherry pie bar, where the buttery crust crumbles just right, giving way to a luscious, sweet cherry filling that dances on your taste buds. The aroma wafts through the kitchen, drawing in everyone like moths to a flame, as warm notes of vanilla and tart cherries fill the air. These delightful treats are perfect for any occasion—from family gatherings to cozy nights in, they promise an irresistible flavor experience that leaves you craving more.
I still remember the first time I tried making cherry pie bars; it was a rainy afternoon when my grandma decided to share her secret recipe with me. As we mixed together the ingredients, laughter echoed through the house, and I learned not just about baking but about creating memories that last a lifetime. With each bite of these scrumptious bars, you’ll find yourself transported to those cherished moments spent with loved ones, making every gathering a little sweeter and more special.
Why Will You Keep Making cherry pie bars?
Easy to make in just 15 minutes of prep time, these cherry pie bars fit perfectly into your busy schedule. Deliciously sweet with a buttery crust that melts in your mouth, each bite is a burst of cherry goodness. Versatile and fun, they can be served as a dessert or a delightful snack any time of day. Crowd-pleasing flavors ensure these bars will be the highlight at gatherings, making them an instant favorite among family and friends!
Ingredients for cherry pie bars
- For the Crust
- 1 cup all-purpose flour – This forms the base of your cherry pie bars, giving them structure and a tender bite.
- 1/2 cup unsalted butter (softened) – Softened butter ensures a rich, buttery flavor and a melt-in-your-mouth texture.
- 1/4 cup granulated sugar – Adds just the right amount of sweetness to balance the tartness of the cherries.
- 1/4 teaspoon salt – Enhances all the flavors in your crust for a well-rounded taste.
- 1 large egg (beaten) – Acts as a binding agent to hold your crust together perfectly.
- For the Filling
- 2 cups fresh or frozen cherries (pitted) – The star of your cherry pie bars, bringing vibrant color and natural sweetness.
- 1/2 cup granulated sugar – Sweetens the filling, complementing the cherries’ natural tartness.
- 2 tablespoons cornstarch – Helps thicken the filling so it sets beautifully without being runny.
- 1 tablespoon lemon juice – Adds brightness and enhances the overall flavor of your cherry filling.
- 1/2 teaspoon vanilla extract – Introduces a warm note that pairs wonderfully with the sweet cherries in your dessert.
How to Make cherry pie bars

1. Preheat the oven to 350°F (175°C) and grease a baking dish. This ensures your cherry pie bars won’t stick and will bake evenly.
2. Combine flour, sugar, and salt in a mixing bowl. Add the softened butter and mix until crumbly, resembling coarse sand. This buttery base is the heart of your dessert!
3. Stir in the beaten egg until the mixture forms a dough. You want it to be cohesive yet still tender; this dough will create the perfect crust for your bars.
4. Press the dough evenly into the bottom of the prepared baking dish. Make sure it covers every corner for an even bake, creating a solid foundation for your cherry filling.
For the Filling:
5. Combine cherries, sugar, cornstarch, lemon juice, and vanilla extract in a saucepan over medium heat. Stir gently as you bring everything together; this will balance the sweetness and tanginess of your filling.
6. Cook until the mixture starts to bubble and thicken, about 5-7 minutes. You’ll see it transform into a luscious filling—so delicious you’ll want to taste it right away!
7. Remove from heat and let cool slightly before pouring over your crust. This cooling step is key to achieving that perfect consistency.
8. Pour the cherry filling over the crust in the baking dish, spreading it out evenly for maximum flavor in every bite.
9. Bake in the preheated oven for 25-30 minutes or until the filling is bubbly and the crust is golden brown. The aroma will fill your kitchen with warmth!
10. Allow to cool before slicing into bars. This step helps set everything together so you can enjoy perfect squares of deliciousness.
Optional: Serve with whipped cream or a scoop of vanilla ice cream for an extra treat!
Exact quantities are listed in the recipe card below.
Expert Tips
- Butter Temperature: Use softened butter for the crust to ensure it combines well, creating that lovely flaky texture in your cherry pie bars.
- Avoid Overmixing: When mixing the dough, stop as soon as it forms. Overmixing can lead to tough crusts instead of the buttery goodness we crave.
- Thickening Agent: Make sure to stir the cornstarch thoroughly with the sugar before adding to the cherries. This prevents clumping and ensures a smooth filling.
- Cooling Time: Let your cherry filling cool slightly before pouring it onto the crust. If too hot, it can make your crust soggy.
- Golden Crust Indicator: Keep an eye on the edges while baking; a golden crust signals that your cherry pie bars are ready to be savored!
How to Store and Freeze cherry pie bars
Room Temperature: Keep your cherry pie bars in an airtight container for up to 3 days to maintain freshness and prevent drying out.
Fridge: For longer storage, refrigerate the bars in a sealed container for up to a week. This helps preserve their delightful flavor and texture.
Freezer: Freeze individual pieces wrapped tightly in plastic wrap and then placed in a freezer-safe bag for up to 3 months. Thaw overnight in the fridge before enjoying!
Reheating: To enjoy warm cherry pie bars, simply reheat them in a preheated oven at 350°F (175°C) for about 10 minutes, or until warmed through.
cherry pie bars Your Way
Feel free to get creative with this recipe and make it your own with exciting twists and substitutions!
- Gluten-Free: Use a gluten-free all-purpose flour blend to keep the crust deliciously tender while catering to dietary needs. Every bite will still bring that familiar comfort, allowing everyone to enjoy these delightful bars.
- Vegan: Substitute the butter with coconut oil or vegan butter and replace the egg with 1/4 cup unsweetened applesauce for a plant-based version. This twist keeps the bars moist and flavorful, ensuring no one misses the eggs or dairy.
- Nutty Crust: Add 1/4 cup of finely chopped nuts, like almonds or pecans, to the crust for an extra crunch. The nutty flavor complements the sweet cherries beautifully, creating a delightful contrast in texture.
- Spiced Filling: Toss in a pinch of cinnamon or nutmeg with the cherry filling for warm, comforting spices. This variation adds depth and richness, making each bite feel like a cozy hug.
- Chocolate Drizzle: Melt dark chocolate and drizzle it over cooled bars before serving for a decadent treat. The rich chocolate pairs perfectly with tart cherries, elevating your dessert into something truly special.
- Lemon Zest Boost: Stir in 1 teaspoon of fresh lemon zest into the filling for an added zing. This bright citrus note enhances the cherry flavor and brings a refreshing twist to each bar.
- Berry Mix: Replace half of the cherries with blueberries or raspberries for a mixed berry delight. The combination of flavors creates a vibrant medley that’s as colorful as it is delicious!
Make Ahead Options
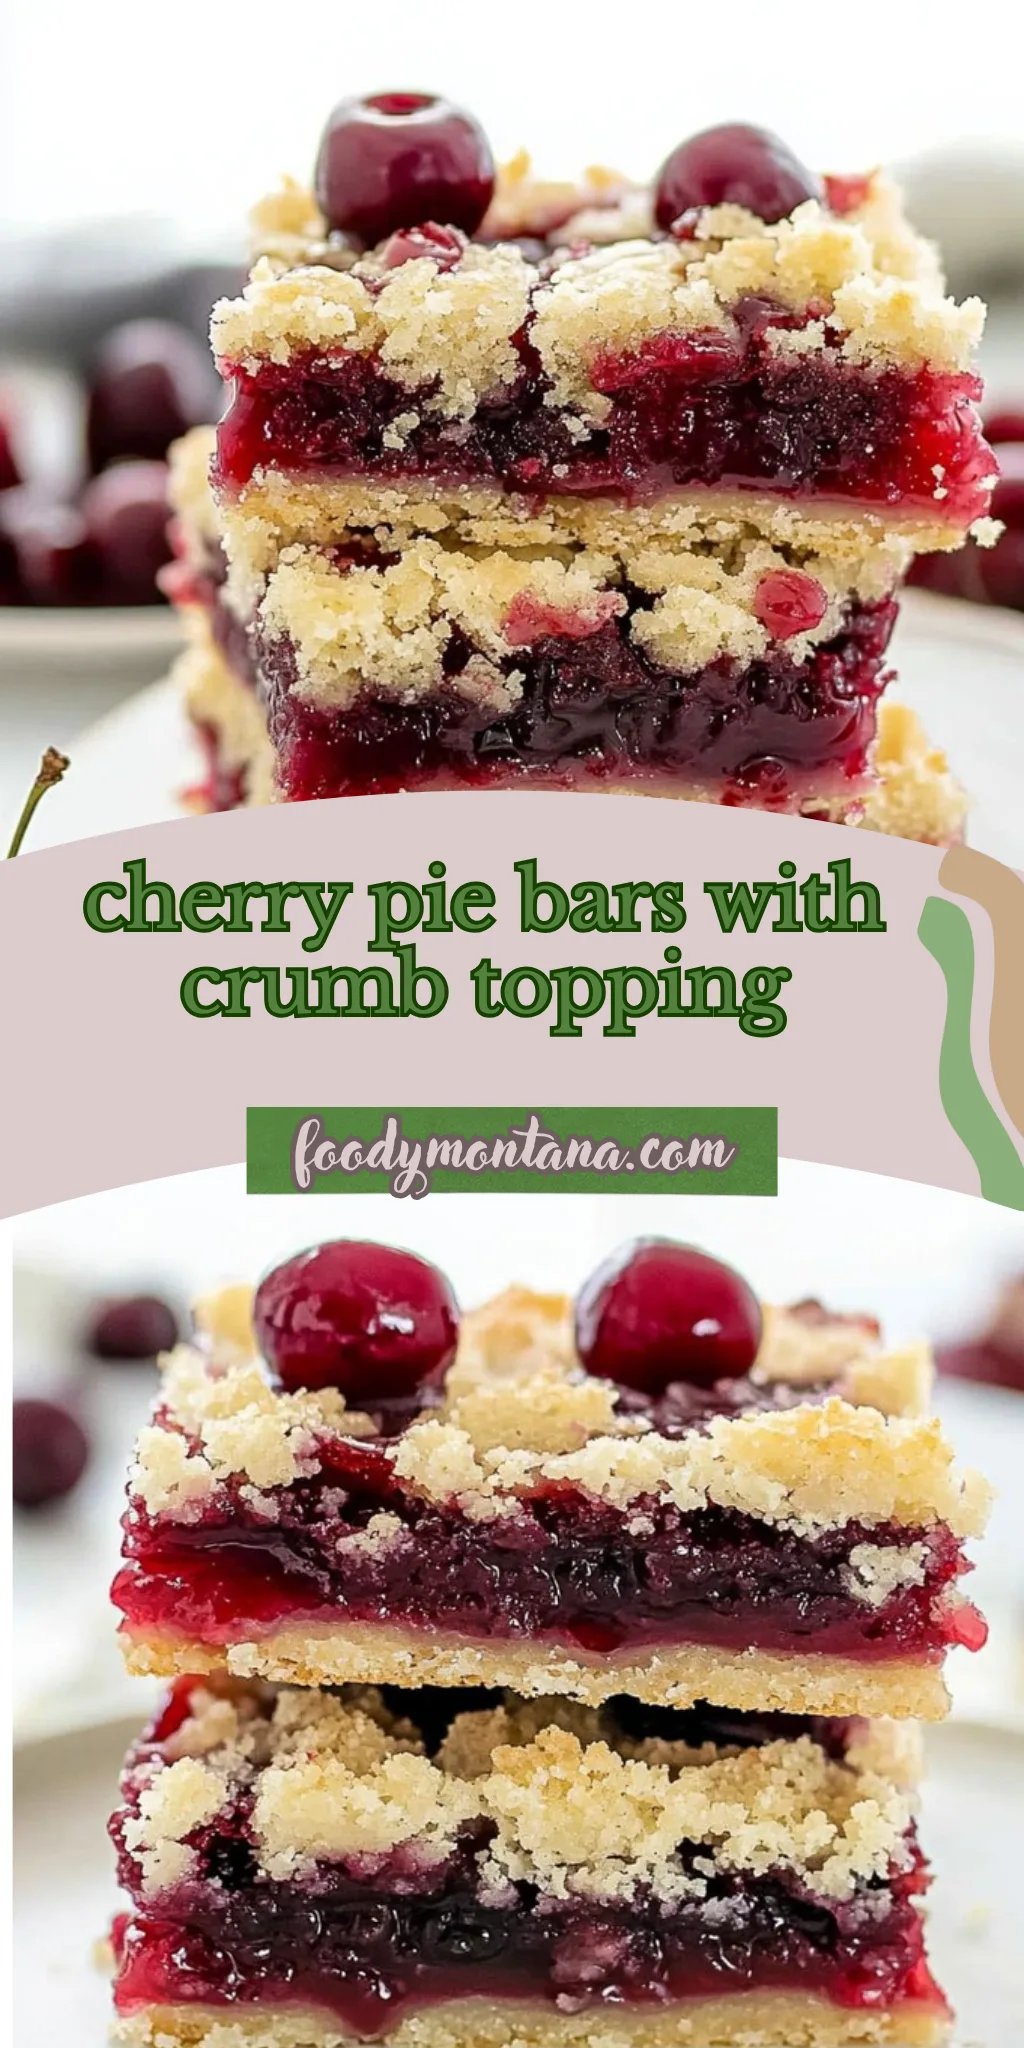
If you’re looking to make your cherry pie bars ahead of time, you’re in for a treat! The crust and filling components can be prepped in advance, making these delightful bars perfect for meal prep. You can prepare the crust by combining 1 cup of all-purpose flour, 1/4 cup of granulated sugar, 1/4 teaspoon of salt, and 1/2 cup of softened unsalted butter, mixing until crumbly. After stirring in one beaten egg and pressing it into the greased baking dish, this step can be done up to 24 hours in advance. For the filling, simply combine 2 cups of pitted cherries (fresh or frozen), 1/2 cup of granulated sugar, 2 tablespoons of cornstarch, 1 tablespoon of lemon juice, and 1/2 teaspoon of vanilla extract in a saucepan over medium heat; this mixture can also be prepared ahead and stored in the fridge for up to three days. When you’re ready to bake your cherry pie bars, just pour the filling over the crust and bake for 25-30 minutes until bubbly and golden. This method not only saves time but ensures that you have delicious treats ready whenever you want them!
cherry pie bars Recipe FAQs
What kind of cherries should I use for the filling?
You can use either fresh or frozen cherries for these cherry pie bars. If using fresh cherries, make sure they are ripe and sweet; if using frozen, just ensure they are pitted and slightly thawed before cooking. This allows the filling to cook evenly and prevents excess water from making it runny.
How should I store leftover cherry pie bars?
To keep your cherry pie bars fresh, store them in an airtight container at room temperature for up to 2 days. If you need to store them longer, refrigerate them for up to a week. Just be sure to let them cool completely before sealing them up!
Can I freeze cherry pie bars?
Absolutely! These cherry pie bars can be frozen for up to 3 months. Just wrap them tightly in plastic wrap and then place them in a freezer-safe bag or container. When you’re ready to enjoy them, simply thaw them in the fridge overnight or let them sit at room temperature for a few hours.
What can I do if my crust is too crumbly?
If your crust feels too crumbly and doesn’t hold together when pressed into the baking dish, try adding another egg yolk or a tablespoon of cold water. This extra moisture will help bind the ingredients together better. Remember, the dough should be firm yet pliable—if it crumbles too easily, it needs a bit more moisture!
How many servings does this recipe yield?
This recipe yields about 4 generous servings of delicious cherry pie bars. Each serving has approximately 250 calories, making it a delightful treat without overindulging!
Can I make this recipe gluten-free?
Yes! You can substitute all-purpose flour with a gluten-free flour blend that works as a 1: 1 replacement. Be sure to check that other ingredients like baking powder or cornstarch are also gluten-free if you’re catering to dietary restrictions!
Cherry Pie Bars
Ingredients
Method
- Preheat the oven to 350°F (175°C). Grease a baking dish.
- In a mixing bowl, combine flour, sugar, and salt. Add softened butter and mix until crumbly.
- Stir in the beaten egg until the mixture forms a dough.
- Press the dough evenly into the bottom of the prepared baking dish.
- In a saucepan over medium heat, combine cherries, sugar, cornstarch, lemon juice, and vanilla extract.
- Cook until the mixture starts to bubble and thicken, about 5-7 minutes.
- Remove from heat and let cool slightly.
- Pour the cherry filling over the crust in the baking dish.
- Bake in the preheated oven for 25-30 minutes or until the filling is bubbly and the crust is golden.
- Allow to cool before slicing into bars.