
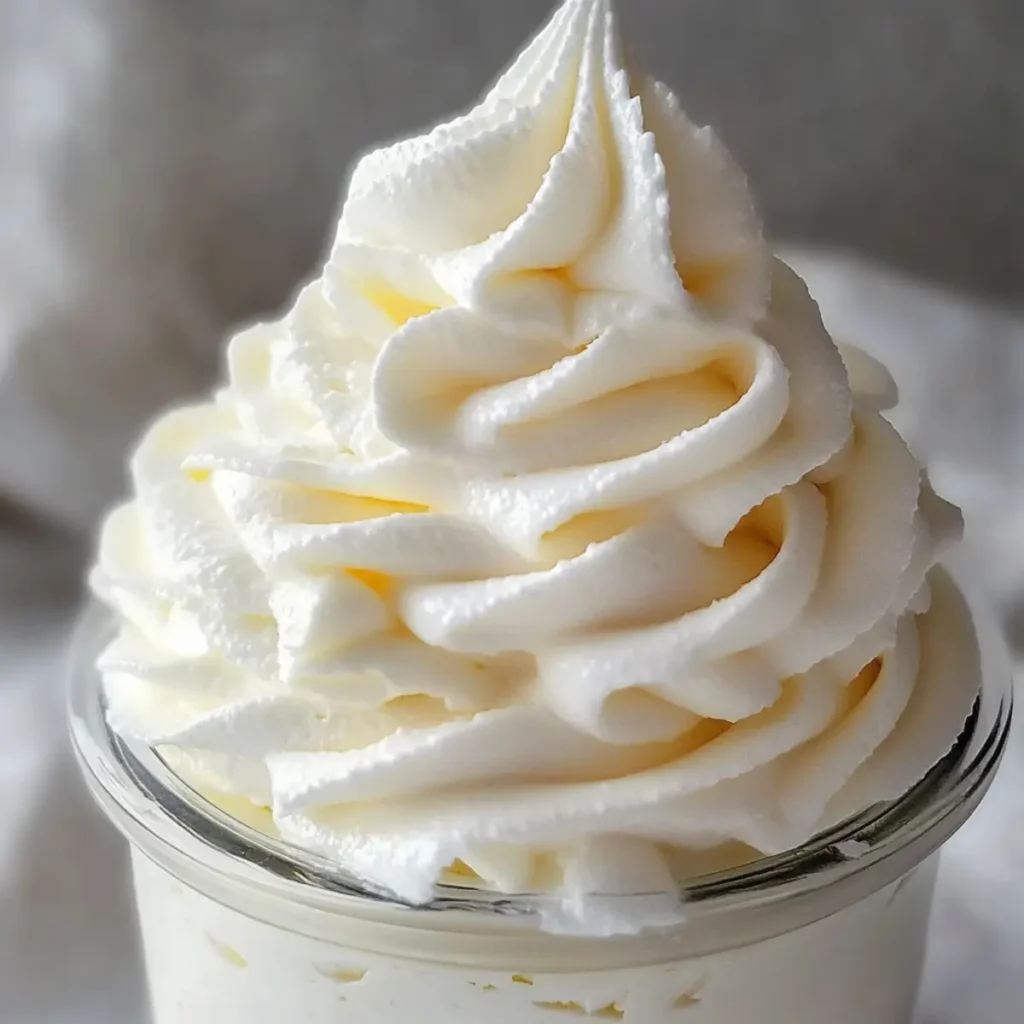
Imagine a creamy cloud of sweetness that effortlessly adorns your favorite desserts. This is the magic of Stabilized Whipped Cream Frosting, a treat that transforms any cake from ordinary to extraordinary. With its velvety texture and subtly sweet flavor, it adds just the right touch of elegance, whether you’re frosting a birthday cake or topping fresh strawberries for a delightful summer dessert.
One of my memorable baking adventures was preparing a layered chocolate cake for my cousin’s wedding. I wanted to impress not just the guests but especially my family, who are fierce critics of any dessert that doesn’t meet their high expectations. The secret? A luscious Stabilized Whipped Cream Frosting, which not only held its shape beautifully under layers of rich ganache but also made the cake taste heavenly. Now, let’s dive into this effortless yet impressive recipe that will have your friends and family begging for seconds.
Why You'll Love This Stabilized Whipped Cream Frosting
- This incredible Stabilized Whipped Cream Frosting transforms simple everyday ingredients into restaurant-quality flavors that will blow your mind completely.
- Foolproof recipe techniques guarantee perfect results every single time, making even novice cooks feel like professional chefs instantly.
- Stunning visual appeal with gorgeous colors and mouthwatering aromas creates the ultimate Instagram-worthy dish for any special occasion.
- Endlessly adaptable for different dietary needs while working beautifully for meal prep, date nights, or entertaining large groups effortlessly.
Ingredients for Stabilized Whipped Cream Frosting
Here’s what you’ll need to make this delicious Stabilized Whipped Cream Frosting:
2 cups heavy whipping cream – This luscious cream is the backbone of our frosting, providing richness and a silky texture.
1/2 cup powdered sugar – Sweetens the frosting while keeping it smooth, avoiding that gritty texture you might find with granulated sugar.
1 teaspoon vanilla extract – Adds a fragrant touch that enhances the flavor profile; opt for pure vanilla for the best results.
1 tablespoon cornstarch – This ingredient stabilizes the whipped cream, ensuring it holds its shape longer, even in warmer conditions.
Fresh fruit (for topping) – Berries, kiwi, or any seasonal fruit not only add vibrant color but also balance the sweetness beautifully.
Chocolate shavings (optional) – For that extra touch of decadence, a sprinkle of chocolate shavings turns your dessert into something truly special.
How to Make Stabilized Whipped Cream Frosting
Follow these simple steps to prepare this delicious Stabilized Whipped Cream Frosting:
Step 1: Combine Ingredients
In a large mixing bowl, combine the heavy whipping cream, powdered sugar, vanilla extract, and cornstarch. Make sure to use a bowl that’s big enough, as the mixture will expand as you whip it.
Step 2: Start Whipping
Using an electric mixer, whip the mixture on medium-high speed until soft peaks form. This process should take about 2-3 minutes. Keep an eye on it; you don’t want to overmix too soon.
Step 3: Whip to Stiff Peaks
Continue whipping until stiff peaks form, which will take another minute or two. This is where the magic happens; the cream transforms into a light, fluffy delight.
Step 4: Use or Store
Use the whipped cream immediately to frost cakes or desserts. If you’re planning to use it later, store it in an airtight container in the refrigerator for up to 24 hours, but I doubt it will last that long.
Step 5: Serve Creatively
Once your frosting is ready, spread it generously between layers of cake or on top of cupcakes. You can even pipe it for a more decorative finish. Don’t forget to add fresh fruit or chocolate shavings for that Instagram-worthy look!
Step 6: Enjoy
Finally, serve your beautifully frosted creations to eager guests and watch their faces light up with joy. Pair it with coffee or a glass of bubbly for an unforgettable experience.
There you have it! A quick and easy recipe for Stabilized Whipped Cream Frosting that’s versatile enough to elevate any dessert. It’s perfect for any occasion, from birthdays to anniversaries and even just a Tuesday night dessert splurge.
As you whip up this delightful frosting, remember to savor the journey. Baking isn’t just about the final product; it’s about the laughter shared in the kitchen, the sweet aromas filling your home, and the joy of indulging in something made with love. So, roll up your sleeves, gather your ingredients, and let the frosting magic begin!
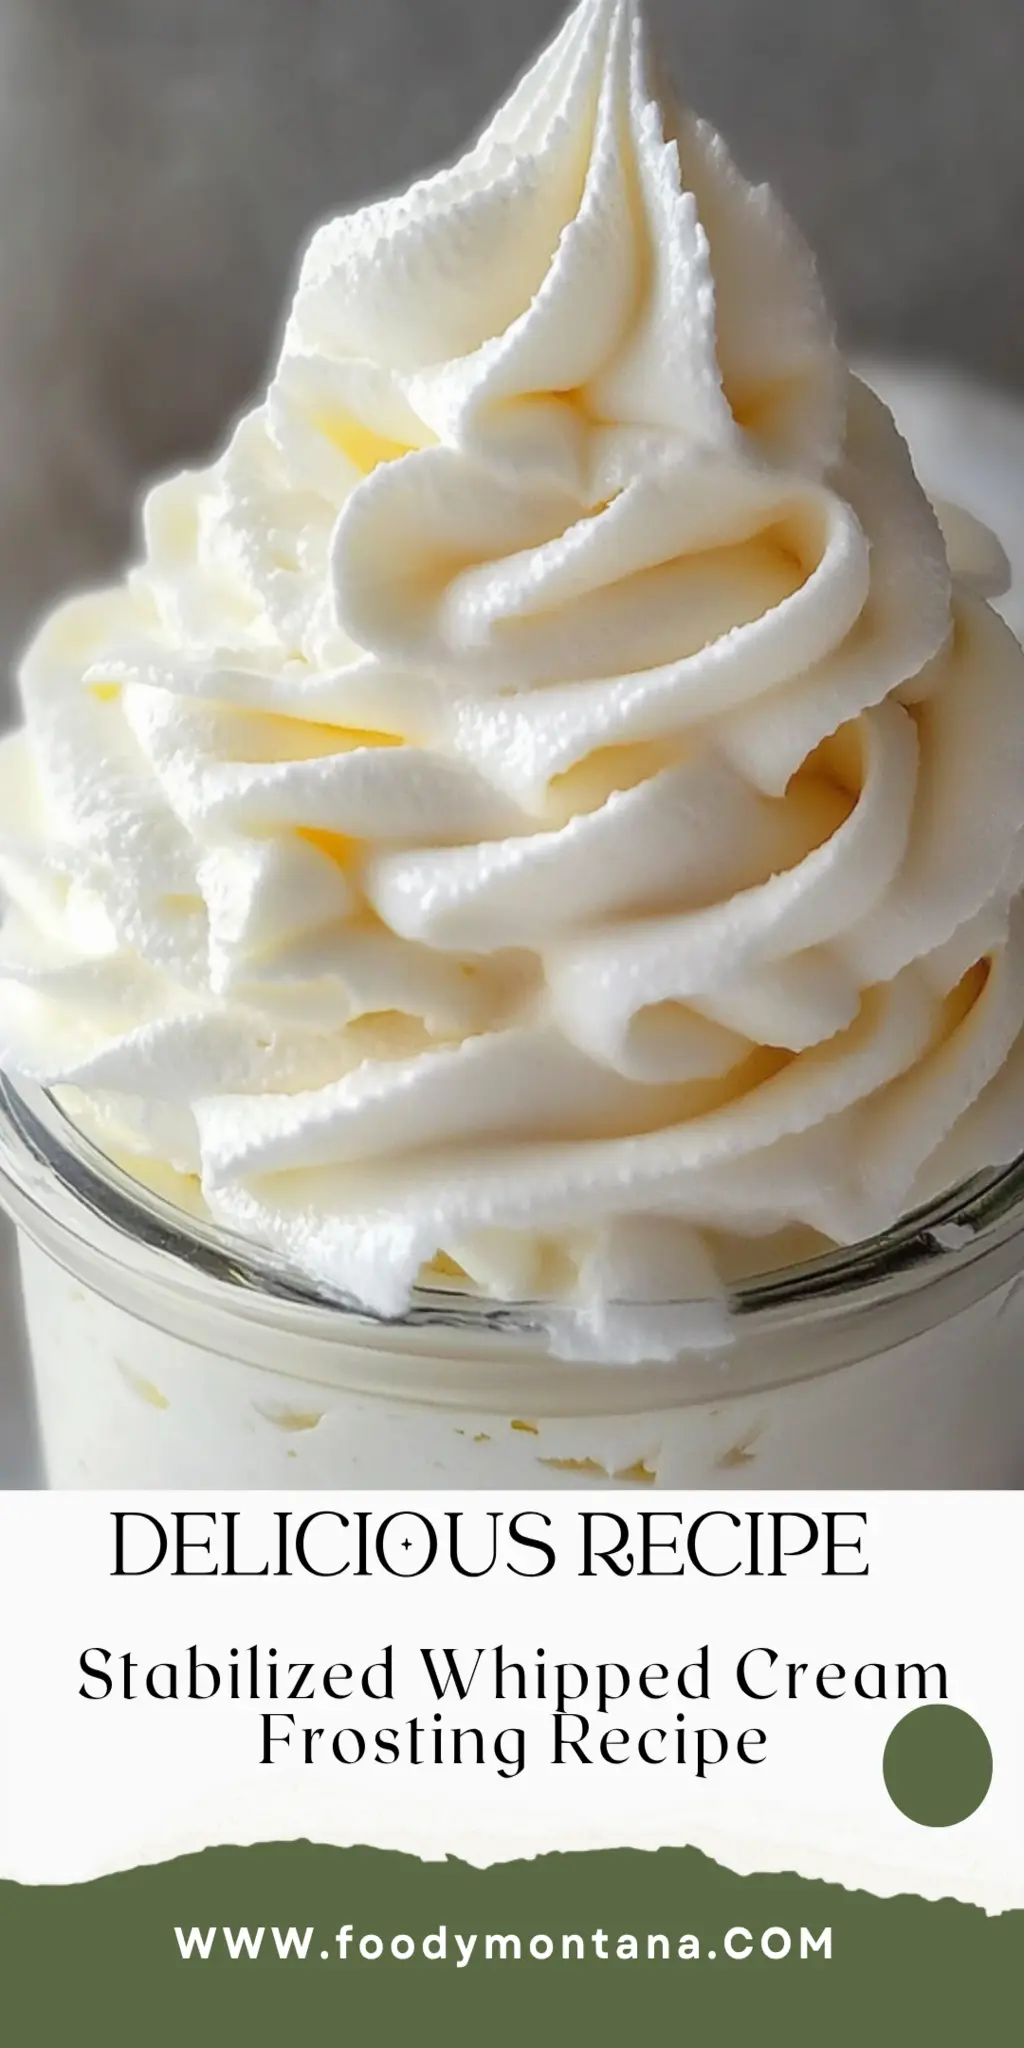
You Must Know About Stabilized Whipped Cream Frosting This showstopping Stabilized Whipped Cream Frosting delivers restaurant-quality results using simple ingredients you probably already have at home. The perfect balance of textures and flavors creates an unforgettable dining experience that will have everyone asking for seconds. Picture-perfect presentation with vibrant colors makes this dish absolutely Instagram-worthy and guaranteed to impress any dinner guest. Incredibly versatile recipe that works beautifully for weeknight dinners, meal prep, special occasions, or even outdoor entertaining sessions.
Perfecting Stabilized Whipped Cream Frosting Cooking Process
To achieve perfect results with your Stabilized Whipped Cream Frosting, start by weighing your ingredients accurately. Combine the heavy cream, powdered sugar, and cornstarch, then whip until soft peaks form. This sequence ensures a smooth, stable frosting that holds shape beautifully.
Add Your Touch to Stabilized Whipped Cream Frosting
Feel free to customize your Stabilized Whipped Cream Frosting with different flavors. Swap the vanilla extract for almond or mint, or fold in some melted chocolate for an indulgent twist. Fresh fruit toppings, nuts, or even a hint of citrus zest can elevate your creation further.
Storing & Reheating Stabilized Whipped Cream Frosting
Store your Stabilized Whipped Cream Frosting in an airtight container in the refrigerator for up to two days. For best results, give it a gentle re-whip before applying it to desserts to restore its luscious texture after chilling.
Chef's Helpful Tips for Stabilized Whipped Cream Frosting
- This professional-quality Stabilized Whipped Cream Frosting relies on precise timing and temperature control to achieve restaurant-standard results consistently.
- Master the art of mise en place by prepping all ingredients beforehand, ensuring smooth execution and preventing any last-minute cooking disasters.
- The secret lies in layering flavors throughout the cooking process rather than seasoning only at the end for maximum depth.
- Pro tip: let the finished dish rest for optimal texture and flavor development before serving to hungry guests waiting eagerly.
When I first made this Stabilized Whipped Cream Frosting for a family gathering, I was pleasantly surprised at how everyone raved about it. It’s a joy to see your loved ones enjoying something you’ve created with care and laughter.
FAQs About Stabilized Whipped Cream Frosting
What is Stabilized Whipped Cream Frosting?
Stabilized Whipped Cream Frosting is a creamy, luscious topping that holds its shape longer than regular whipped cream, making it ideal for decorating cakes and desserts. The stabilization often comes from cornstarch or gelatin, allowing it to withstand heat and time without wilting. This delightful frosting is not only versatile but also easy to make, requiring just a few simple ingredients. Its smooth texture and rich flavor elevate any dessert, making it a favorite for bakers and dessert enthusiasts alike.
Why should I use Stabilized Whipped Cream Frosting instead of regular whipped cream?
Using Stabilized Whipped Cream Frosting has several advantages over regular whipped cream. The stabilization process ensures that your frosting maintains its fluffy texture and won’t deflate or weep, even after a few hours. This is especially important for outdoor gatherings, where heat can cause regular whipped cream to melt away. Additionally, the added cornstarch or gelatin provides a sturdier structure that holds beautifully on cakes and cupcakes, letting you create intricate designs without fear of them collapsing.
Can I flavor my Stabilized Whipped Cream Frosting?
Absolutely! One of the best things about Stabilized Whipped Cream Frosting is its adaptability. You can easily customize it with different flavors to match your dessert or personal preference. Try swapping out vanilla extract for almond, peppermint, or even coconut for a unique twist. For chocolate lovers, folding in melted chocolate or cocoa powder can create an indulgent chocolate version. Fresh fruit puree can also be added for a fruity kick, adding vibrant color and flavor to your creation.
How do I store Stabilized Whipped Cream Frosting?
To store your Stabilized Whipped Cream Frosting, place it in an airtight container and keep it refrigerated. It can last up to two days, maintaining its texture and flavor. When you’re ready to use it again, give it a gentle re-whip to restore its fluffy consistency before applying it to your cakes or desserts. This simple step ensures that every bite remains just as delightful as when you first made it. Avoid freezing it, as that can affect the texture negatively when thawed.
Conclusion for Stabilized Whipped Cream Frosting
In summary, Stabilized Whipped Cream Frosting is a game-changer for your baking adventures. Its ability to hold its shape makes it perfect for decorating, while its delightful flavor can be customized to suit any dessert. With just a few ingredients and the right technique, you can whip up this frosting in minutes, making it an essential addition to your baking repertoire. Whether for a special occasion or a simple treat, your desserts will shine with this fabulous frosting.
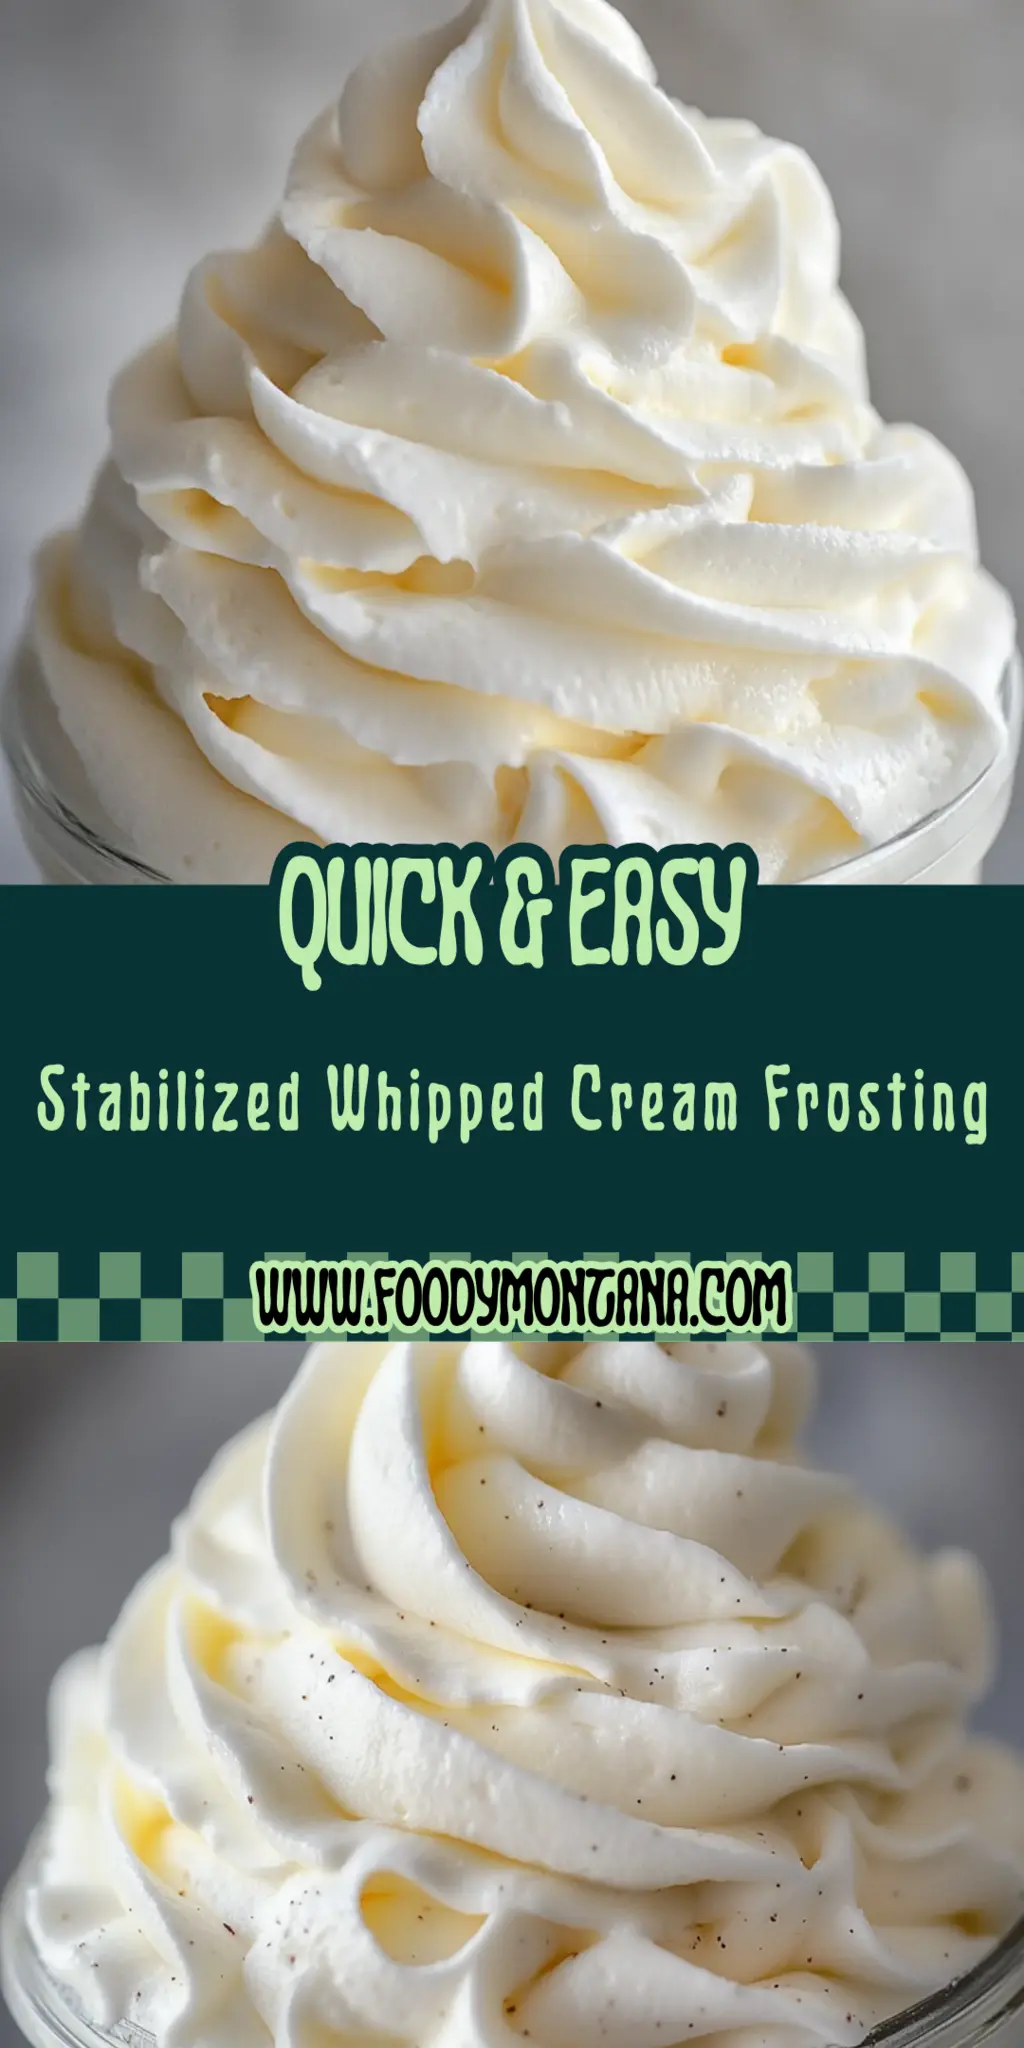
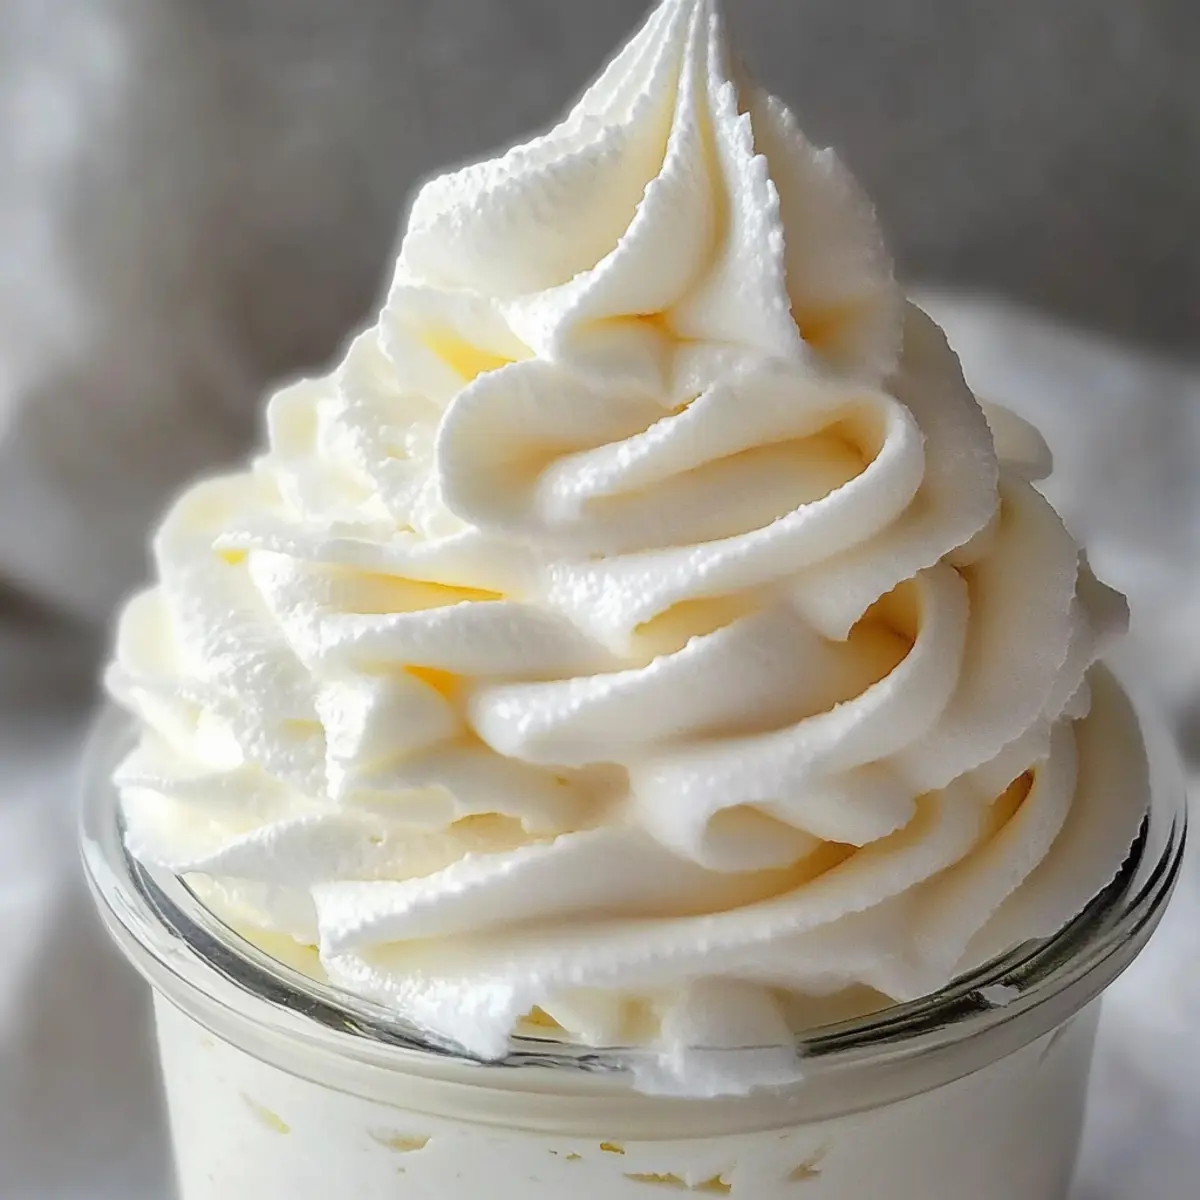
Stabilized Whipped Cream Frosting
Ingredients
Equipment
Method
- In a large mixing bowl, combine the heavy whipping cream, powdered sugar, vanilla extract, and cornstarch.
- Using an electric mixer, whip the mixture on medium-high speed until soft peaks form.
- Continue to whip until stiff peaks form, being careful not to overmix.
- Use immediately to frost cakes or desserts or store in the refrigerator until ready to use.