
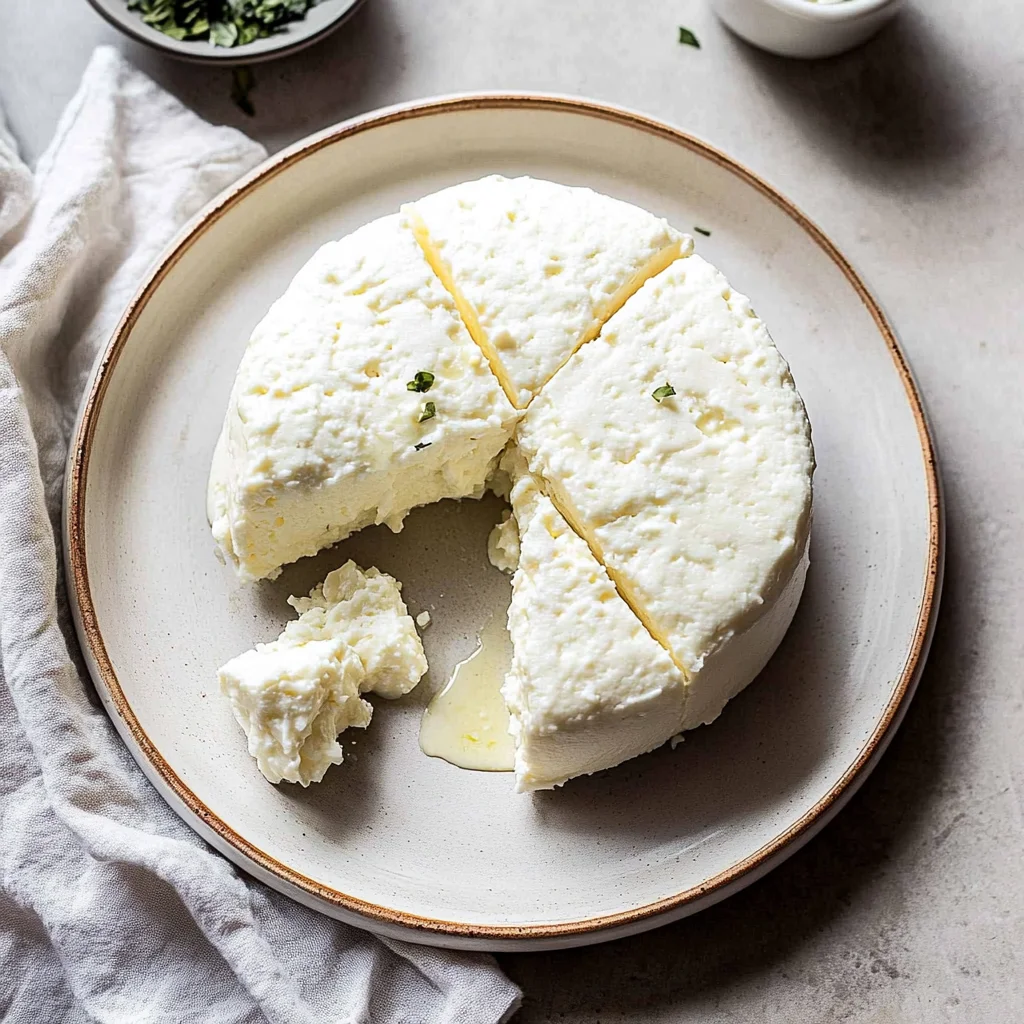
Imagine biting into a warm tortilla topped with a sprinkle of creamy, crumbly queso fresco that melts just enough to blend with the vibrant flavors of fresh salsa. The delightful balance of tanginess and mildness dances on your palate, making it impossible to resist reaching for another bite. This queso fresco recipe not only elevates your meals but also brings joy to every gathering, whether you’re hosting a lively taco night or simply enjoying a quiet evening at home.
I still remember the first time I tasted homemade queso fresco at my abuela’s kitchen, where the air was filled with laughter and the aroma of spices simmering away. It was like a warm hug from the inside out, perfectly complementing everything from hearty enchiladas to light summer salads. This versatile cheese is not just an ingredient; it’s an invitation to share stories and create unforgettable memories around the table. Get ready to indulge in a flavor experience that will have you dreaming of sunny Mexican fiestas!
Why Is queso fresco recipe So Irresistibly Good?
Freshness is key! This homemade queso fresco bursts with flavor, elevating any dish. Simplicity shines through, with just three ingredients and 30 minutes of your time. Versatile by nature, it complements tacos, salads, or can be savored on its own. Healthier than store-bought options, you control the salt and acidity. Crowd-pleaser guaranteed; everyone will love its crumbly texture and creamy taste!
queso fresco recipe Ingredients
- For the Cheese
- 1 gallon whole milk – Preferably pasteurized (not ultra-pasteurized) for the best texture and flavor in your queso fresco recipe.
- For the Acid
- 1/4 cup white vinegar – This helps curdle the milk; you can substitute with lemon juice if needed.
- For the Seasoning
- 1 teaspoon salt – Adjust to taste, enhancing the flavor of your fresh cheese.
How to Make queso fresco recipe

1. Heat the milk: In a large pot, heat 1 gallon of whole milk over medium heat until it reaches 190°F (88°C), stirring occasionally. This helps prevent scorching and ensures an even texture.
2. Add the vinegar: Once the milk is heated, remove it from the heat and slowly stir in 1/4 cup of white vinegar. Let it sit undisturbed for about 10 minutes; this allows curds to form beautifully.
3. Strain the curds: Line a colander with cheesecloth and place it over a mixing bowl. Carefully pour the curds and whey into the colander to strain, collecting the liquid in the bowl beneath.
4. Rinse and squeeze: Gather the cheesecloth around the curds and rinse them under cold water. This step removes any lingering vinegar taste; then squeeze out excess moisture for a perfect consistency.
5. Season and shape: Transfer the curds to a bowl, add 1 teaspoon of salt (adjust to taste), and mix well. Press the curds into a mold or shape them into a ball for your homemade queso fresco.
6. Rest before refrigerating: Let your queso fresco sit at room temperature for about 1 hour before refrigerating. It’s ready to enjoy immediately or store in the fridge for later!
Optional: Enjoy with fresh herbs or crumbled over your favorite dishes!
Exact quantities are listed in the recipe card below.
Pro Tips for queso fresco recipe
- Milk Matters: Use whole, pasteurized milk for the best texture. Avoid ultra-pasteurized as it doesn’t curdle properly.
- Temperature Check: Ensure the milk reaches exactly 190°F; too cool won’t form curds, while too hot can scorch and ruin the flavor.
- Acid Choices: White vinegar works well, but if you prefer a brighter taste, lemon juice can add a refreshing twist to your queso fresco recipe.
- Straining Technique: When pouring the curds into the colander, do it gently to avoid breaking them apart too much—this keeps your cheese crumbly yet intact.
- Rinsing Right: Rinse under cold water thoroughly to eliminate any vinegar taste; this step is crucial for a clean flavor profile in your cheese.
- Salt Sensibly: Start with 1 teaspoon of salt and adjust to your taste before pressing into molds. Remember, you can always add more!
How to Store and Freeze queso fresco recipe
- Fridge: Keep your queso fresco recipe wrapped tightly in plastic wrap or in an airtight container. It will stay fresh for up to 5 days.
- Freezer: For longer storage, freeze the cheese in small portions. It can last up to 3 months; just thaw it in the fridge before use.
- Room Temperature: Avoid leaving queso fresco recipe out at room temperature for more than 2 hours to prevent spoilage.
- Reheating: If you plan to warm it, gently heat it on low in a pan, stirring occasionally. This helps retain its crumbly texture.
queso fresco recipe Variations
Feel free to get creative with this fresh cheese, adding your own touch to enhance its delightful flavor and texture!
- Lemon Zest: Incorporate the zest of one lemon for a bright, citrusy note that complements savory dishes beautifully. This addition can elevate your queso fresco, making it even more refreshing and vibrant.
- Spicy Kick: Add finely chopped jalapeños or serranos to introduce a zesty heat that ignites your taste buds. A balanced blend of spices can transform your cheese into a bold topping for tacos or enchiladas.
- Herb Infusion: Mix in finely chopped fresh herbs like cilantro or parsley for an aromatic twist that enhances its freshness. This adds layers of flavor, making it a perfect accompaniment to salads or grilled meats.
- Creamy Texture: Substitute half of the whole milk with heavy cream for a richer, creamier queso fresco. The result is a decadent cheese that’s delicious on its own or as a luscious topping for your favorite dishes.
- Salt Variations: Experiment with flavored salts—like garlic or smoked salt—to add depth to your cheese. This simple change can give your queso fresco a unique character that pairs wonderfully with various cuisines.
- Nutty Flavor: Add crushed nuts, like toasted pine nuts, into the mix for an unexpected crunch and nutty essence. They provide a delightful contrast to the creamy texture and enhance the overall experience.
- Smoky Twist: Use smoked vinegar instead of white vinegar for a subtle smoky flavor that adds complexity. This variation is perfect for those who enjoy a hint of smokiness in their dishes.
- Vegan Option: Replace whole milk with unsweetened almond or cashew milk along with lemon juice to create a plant-based version. This way, everyone can enjoy the joy of queso fresco!
Make Ahead Options
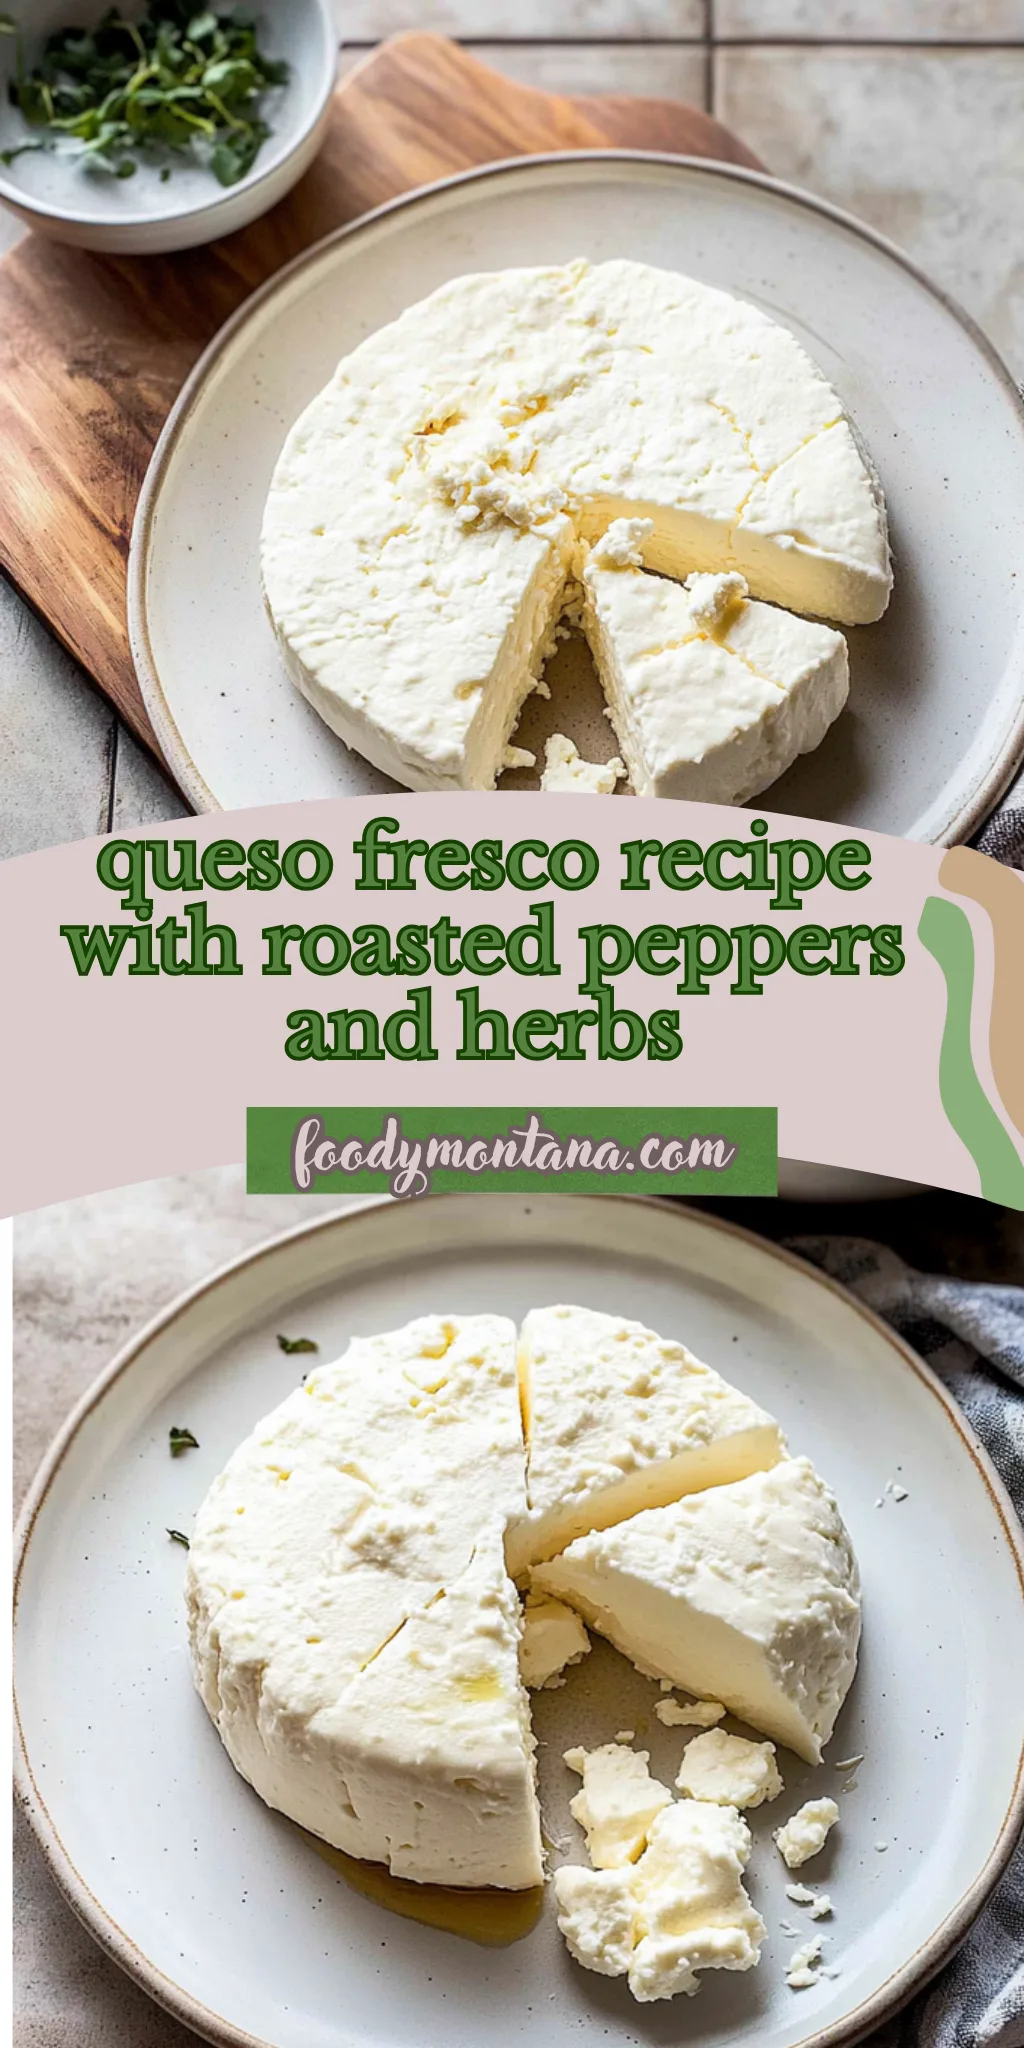
Queso fresco is an excellent choice for meal prep, allowing you to enjoy its fresh flavors without the last-minute rush. You can easily prepare the essential components in advance: simply heat the 1 gallon of whole milk and stir in the 1/4 cup of white vinegar to form curds. This step can be done up to 24 hours ahead, letting you strain and rinse the curds when you’re ready to finish the queso fresco recipe. After mixing in the 1 teaspoon of salt and shaping it, let it sit for about 1 hour at room temperature before refrigerating. For optimal quality, store it in an airtight container in the fridge for up to 3 days. When ready to serve, just pull it out and crumble it over your favorite dishes—effortlessly elevating your meals while saving you precious time!
Your queso fresco recipe Questions, Answered
What type of milk is best for making queso fresco?
Using whole milk is ideal for creating a rich and creamy queso fresco. It’s best to choose pasteurized whole milk rather than ultra-pasteurized, as the latter can affect the curd formation. The creaminess of whole milk ensures that your cheese has a delightful texture, perfect for topping your favorite dishes.
Can I substitute white vinegar with something else?
Absolutely! If you don’t have white vinegar on hand, lemon juice works wonderfully as a substitute. Just use the same amount—1/4 cup—and you’ll achieve similar curdling results. This substitution adds a hint of citrus flavor that can elevate your queso fresco even more.
How should I store leftover queso fresco?
To keep your queso fresco fresh, store it in an airtight container in the refrigerator. It will stay good for about 5–7 days. For optimal flavor and texture, consume it within this timeframe. Make sure to keep it covered to prevent it from drying out!
Can I freeze queso fresco?
Yes, you can freeze queso fresco! To do so, wrap it tightly in plastic wrap or place it in a freezer-safe bag. It can be frozen for up to three months. However, keep in mind that freezing may alter its texture slightly, making it crumbly when thawed—perfect for crumbling over dishes!
What if my curds don’t form properly?
If your curds aren’t forming after adding the vinegar or lemon juice, try increasing the heat slightly or letting the mixture sit a little longer—up to 15 minutes—to allow more time for curds to develop. You want to see distinct curds separating from the whey; if they’re not visible yet, patience is key!
How much queso fresco does this recipe yield?
This recipe yields about 4 servings of delicious queso fresco, with each serving containing approximately 80 calories. It’s perfect for sharing with family or enjoying on your own! Whether you’re topping tacos or snacking straight from the fridge, you’ll appreciate having enough to savor.
Queso Fresco
Ingredients
Method
- In a large pot, heat the whole milk over medium heat until it reaches 190°F (88°C), stirring occasionally to prevent scorching.
- Once the milk is heated, remove it from the heat and slowly stir in the white vinegar. Let it sit for about 10 minutes to allow the curds to form.
- Line a colander with cheesecloth and place it over a mixing bowl. Carefully pour the curds and whey into the colander to strain.
- Gather the cheesecloth around the curds and rinse under cold water to remove the vinegar taste. Squeeze out excess moisture.
- Transfer the curds to a bowl, add salt, and mix well. Press the curds into a mold or shape into a ball.
- Let the queso fresco sit at room temperature for about 1 hour before refrigerating. It can be used immediately or stored in the fridge.